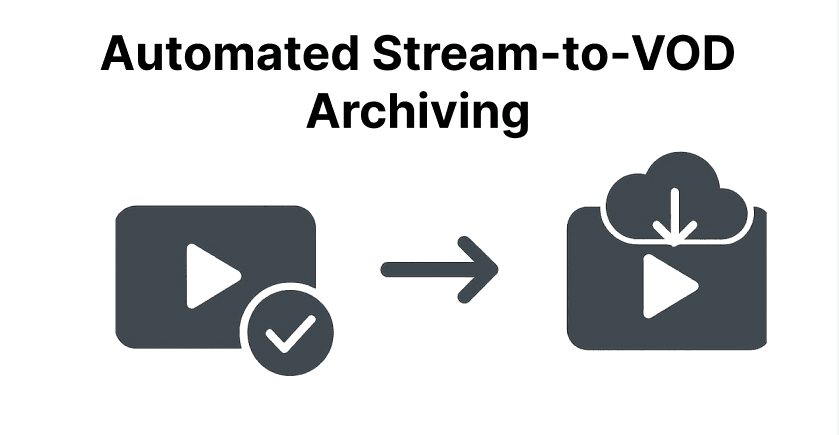
Live stream archiving to VOD involves automatically saving broadcast video content as on-demand files for later access. This process captures streams in real-time and converts them into playable videos stored in cloud platforms.
It ensures that viewers can watch content anytime, even after the live event ends. Automation saves manual effort and prevents data loss from technical issues. By setting up triggers and tools, creators maintain a reliable archive without constant oversight.
Prerequisites
- Required Software and Tools (e.g., streaming software like OBS Studio, FFmpeg, cloud storage APIs).
- Hardware Requirements (e.g., CPU, RAM, storage for processing).
- Accounts & Permissions (e.g., access to streaming platforms like Twitch, cloud services like Google Cloud Storage).
- Dependencies (e.g., API keys and libraries for scripting).
Preparing the System
Install and Configure Streaming Software
To begin, set up software to capture and record your video feed. Tools like OBS Studio and FFmpeg work well.
For OBS Studio: Download it from the official site and install it. Create a new scene and add sources, such as a window or camera. In settings, enter your stream key and server URL from your platform, like Twitch. In output settings, set bitrate, encoder like x264, and format like MP4.
For FFmpeg: Install FFmpeg using your system's package manager, such as apt on Ubuntu or brew on macOS. Check it works by running ffmpeg -version. Capture a live stream with a command like:
ffmpeg -i rtmp://your.stream/url -c:v libx264 -preset fast -b:v 6000k -c:a aac -b:a 128k output.mp4These tools help capture streams reliably and let you control quality and file names for easy automation.
Set Up Cloud Storage Buckets or VOD Platforms
Once the local recording is configured, the next step is to prepare your cloud storage system or VOD (Video on Demand) hosting platform.
For Cloud Storage: Make a bucket for the files. Add folders like /raw_streams and /processed_videos. Set rules for who can access or upload. Use keys in your environment for safety. Test by uploading a sample file:
aws s3 cp test.mp4 s3://my-vod-archive/processed_videos/test.mp4For a VOD Platform: Get an API key or login info. Make channels or lists for organizing videos. Follow the platform's guide for upload points and details.
This setup will allow you to upload and organize videos automatically.
Install Automation Scripts or Tools
To tie streaming and storage together, automation scripts handle events like stream start and end, recording initiation, processing, and uploading.
Using Python:
Install Python (3.8 or later) from python.org and create a virtual environment:
python -m venv vod-env
source vod-env/bin/activate # On Windows: vod-env\\Scripts\\activate
Install Required Libraries:
pip install boto3 google-cloud-storage requests ffmpeg-pythonWrite scripts to check stream events, run FFmpeg, upload files, and note successes or errors. Here’s an example script flow:
import boto3, subprocess, osSet up AWS S3:
s3 = boto3.client('s3')Record the Stream:
subprocess.run(['ffmpeg', '-i', 'rtmp://your.stream/url', '-c:v', 'libx264', 'output.mp4'])Upload to S3:
s3.upload_file('output.mp4', 'my-vod-bucket', 'processed_videos/output.mp4')With these parts linked, the system captures and stores content on its own.
Configuring Automation
Defining Triggers for Archiving
To start archiving automatically, detect when the stream begins or ends. You must use API checks or webhooks. Webhooks send notices to your server when events happen, like stream start or end.
To use webhooks, you need to:
Step 1: Create a secure & unique webhook endpoint URL on your server.
Step 2: Register this URL in your streaming platform’s webhook configuration section.
Step 3: Select which events to listen for (start, end, recording completion).
Step 4: When an event occurs, the platform sends a JSON payload to your endpoint, triggering your automation scripts to start or stop recording, process video, or upload content.
Webhooks offer near real-time event notifications while avoiding inefficient polling. Some platforms may require polling alongside webhooks for full data.
Configuring Recording Parameters
Set details for recording to match quality and needs. Pick a resolution, such as 1080p or 720p. Set bitrate, such as 3-8 Mbps for HD. Thereafter, you need to choose a format like MP4.
For example, an FFmpeg recording command might look like:
ffmpeg -i rtmp://source/stream -c:v libx264 -preset medium -b:v 6000k -c:a aac -b:a 128k -f mp4 output.mp4Adjust these parameters in your streaming or recording tool configuration to suit your needs.
Setting Up Post-Processing
After recording finishes, videos often require further processing:
Transcoding: Convert videos to multiple resolutions or formats for different devices or network conditions using FFmpeg or cloud transcoding services.
Metadata Addition: Embed titles, descriptions, thumbnails, timestamps, or other relevant info.
Your automation scripts should trigger these steps automatically after recording ends, leveraging libraries like ffmpeg-python or external APIs.
Integrating with VOD Platforms
Once ready, you need to upload it to platforms like YouTube. Use API keys to log in. Send files through upload points. Add details like title and tags. Set if it's public or private.
Example Pseudocode for YouTube Upload:
youtube = build('youtube', 'v3', credentials=creds)
request = youtube.videos().insert(
part="snippet,status",
body={"snippet": {"title": "Live Stream Archive"}, "status": {"privacyStatus": "public"}},
media_body=MediaFileUpload('output.mp4', chunksize=-1, resumable=True)
)
response = request.execute()
Automation of these steps ensures seamless archiving, transcoding, and publication of live streams as on-demand videos without manual intervention.
Steps to Automate Live Stream Archiving to VOD
Authenticate and Connect to the Live Stream Source
Obtain API keys or OAuth tokens from the streaming platform (e.g., Twitch). Use these credentials to authenticate via the platform’s API or SDK. Programmatically fetch the live stream URL or stream key. For example, using the Twitch API to check stream status and get ingest URLs. Validate connectivity by initiating a test ping or handshake with the streaming endpoint.
Initiate Automated Recording on Stream Start
Use webhooks or API event subscriptions to detect stream start in real time. Upon receiving the start event, automatically launch your recording script (e.g., an FFmpeg command) to capture the stream. Then log recording start time and the temporary file location for traceability. For example, you can trigger a Python script that runs FFmpeg with predefined resolution and bitrate parameters.
Handle Stream Interruptions and Resume Logic
Monitor stream health using API status checks or streaming software logs. If an interruption or disconnect occurs, pause recording gracefully and log the reason. Automatically retry reconnecting to the live stream source at intervals. When the stream resumes, continue recording either by appending to the existing file or starting a new segment with timestamped filenames to avoid data loss.
Process and upload archived content to VOD upon stream end.
Detect stream end via webhook or API event and finalize the recording file (e.g., close encoding processes). Then trigger post-processing tasks like transcoding to multiple formats or resolutions using FFmpeg or cloud media services. At last, you must upload the processed video(s) to cloud storage or VOD platforms via their APIs to ensure uploads support resuming if interrupted.
Verify upload and generate access links.
After upload completion, use API calls to confirm file integrity and metadata correctness and generate shareable URLs or embed codes from the VOD platform or cloud storage. Then store URLs and metadata in a database or CMS for easy retrieval and public access. Optionally, you can also notify content managers or viewers via automated emails or dashboard alerts.