
Developing a video-sharing platform similar to YouTube requires support for video ingestion, encoding, storage, and global delivery. api.video simplifies this process by exposing a complete set of REST APIs that manage everything from video uploads to analytics tracking. A typical platform flow includes secure video uploads, customizable playback, metadata handling, and real-time insights into viewer engagement.
Setting Up api.video for Video Management
Before diving into the video player setup, integrate api.video into your platform. api.video simplifies the video management process, providing you with APIs to handle video uploads, video processing, and live streaming. To get started, you'll need to create an api.video account and obtain an API key.
Register and Obtain API Key
Step 1: Go to the api.video website and sign up for an account.
Step 2: Once logged in, navigate to the API section of your dashboard.
Step 3: Copy your API key, which will be used to authenticate your requests.
Setting Up API Authentication in Your Application
Now, you need to authenticate your API calls. api.video uses a simple bearer token for authentication.
const apiKey = 'YOUR_API_KEY'; // Replace with your actual API keyconst headers = new Headers({'Authorization': `Bearer ${apiKey}`,'Content-Type': 'application/json'});const request = {method: 'GET',headers: headers,};fetch('https://api.api.video/v1/videos', request).then(response => response.json()).then(data => {console.log(data); // Log video data}).catch(error => {console.error('Error fetching video data:', error);});Explanation:
- Authorization: Uses your API key to authenticate the request.
- fetch: Makes a GET request to retrieve the list of uploaded videos.
- Content-Type: Ensures JSON data format for compatibility with api.video endpoints.
Uploading Videos to api.video
Uploading videos is the first step in building a video-sharing platform. Using api.video’s upload API, you can programmatically handle video uploads and store them securely on their cloud infrastructure.
Initiate Video Upload
To upload a video, start by initiating an upload session to return a videoToken. This token will be used to upload the video data.
const requestInit = {method: 'POST',headers: headers,body: JSON.stringify({ title: 'Video Title', description: 'Description of the video' }),};fetch('https://api.api.video/v1/videos', requestInit).then(response => response.json()).then(data => {console.log('Video token:', data.token); // Save this token for uploading video parts}).catch(error => {console.error('Error starting upload:', error);});Explanation:
- POST /videos: Creates a new video entry on api.video.
- videoId: Returned by the API for uploading and referencing the video later.
Upload Video File
Once you’ve received the videoToken, use it to upload the video file in chunks. Here’s an example of uploading the video file via API.
const videoFile = document.getElementById('video-file').files[0]; // Get file input from the userconst uploadUrl = `https://api.api.video/v1/videos/${videoToken}/upload`; // Use the video token to get the upload URLconst formData = new FormData();formData.append('file', videoFile);fetch(uploadUrl, {method: 'POST',body: formData,}).then(response => response.json()).then(data => {console.log('Video uploaded:', data);}).catch(error => {console.error('Error uploading video:', error);});Explanation:
- FormData: Used to send video file as binary.
- videoToken: Ensures the upload is tied to the correct video object.
- POST /source: Uploads the actual file to api.video servers.
Playing Videos with api.video Player
Once the video has been uploaded, it is time to render the video player on your platform. api.video provides an embeddable video player that is simple to integrate.
Embedding api.video Player
To play the uploaded video, use the unique video ID provided upon successful upload. You can use api.video to embed a fully customizable player.
<iframe src="https://embed.api.video/vod/your_video_id" width="640" height="360" frameborder="0" allow="autoplay; fullscreen" allowfullscreen></iframe>Explanation:
- Replace your_video_id with the actual video ID returned after uploading the video.
- This iframe embeds the api.video player into your website to enable video playback.
Video Metadata and Management
Aside from video upload and playback, you must manage video metadata (title, description, and tags) for search and categorization purposes.
Retrieve Video Information
After uploading a video, you can retrieve its metadata for displaying on the platform or making edits.
const videoId = 'your_video_id'; // Replace with actual video IDfetch(`https://api.api.video/v1/videos/${videoId}`, {method: 'GET',headers: headers,}).then(response => response.json()).then(data => {console.log('Video Metadata:', data);}).catch(error => {console.error('Error fetching video metadata:', error);});Explanation:
- GET /videos/{id}: Fetches metadata for a specific video.
- data: Includes title, description, tags, encoding status, and more.
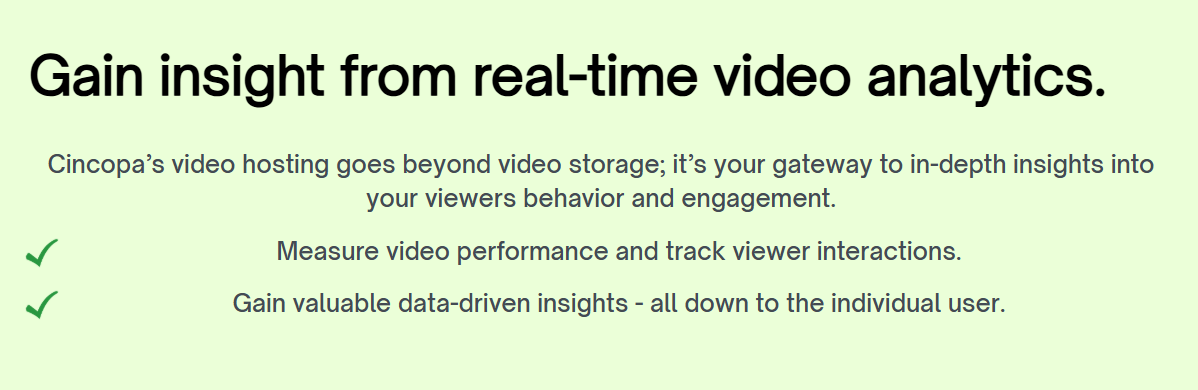
Adding Analytics and Insights
To enhance user experience and gather engagement metrics, you can integrate analytics with api.video to track how users interact with your videos.
fetch('https://api.api.video/v1/videos/your_video_id/stats', {method: 'GET',headers: headers,}).then(response => response.json()).then(data => {console.log('Video Analytics:', data); // Track views, plays, etc.}).catch(error => {console.error('Error fetching analytics:', error);});Explanation:
- /videos/{id}/stats: Returns view count, watch duration, and other metrics.
- headers: Must include your bearer token for access.
- analytics: Helps you optimize content based on how users engage with videos.