When working with video files, tasks like converting formats, resizing resolution, generating thumbnails, and compressing for web delivery are often required. Doing these manually is slow and does not scale. A video processing pipeline automates these steps so every uploaded video is handled the same way every time.
A processing pipeline is usually the technical layer that prepares media before it is delivered to viewers. For business teams, this layer often connects to a broader secure video sharing workflow that includes hosting, access control, galleries, captions, analytics, and searchable video knowledge.
Prerequisites
- Make sure FFmpeg is installed on your system. You can check by running ffmpeg -version in the command line.
- If FFmpeg is not installed, download and install it from the official FFmpeg website.
- Prepare the video files you want to process before starting the pipeline.
Creating a Basic Pipeline
A simple video processing pipeline might involve multiple tasks like converting video formats, resizing, and applying filters. You can automate these tasks by chaining multiple FFmpeg commands together.
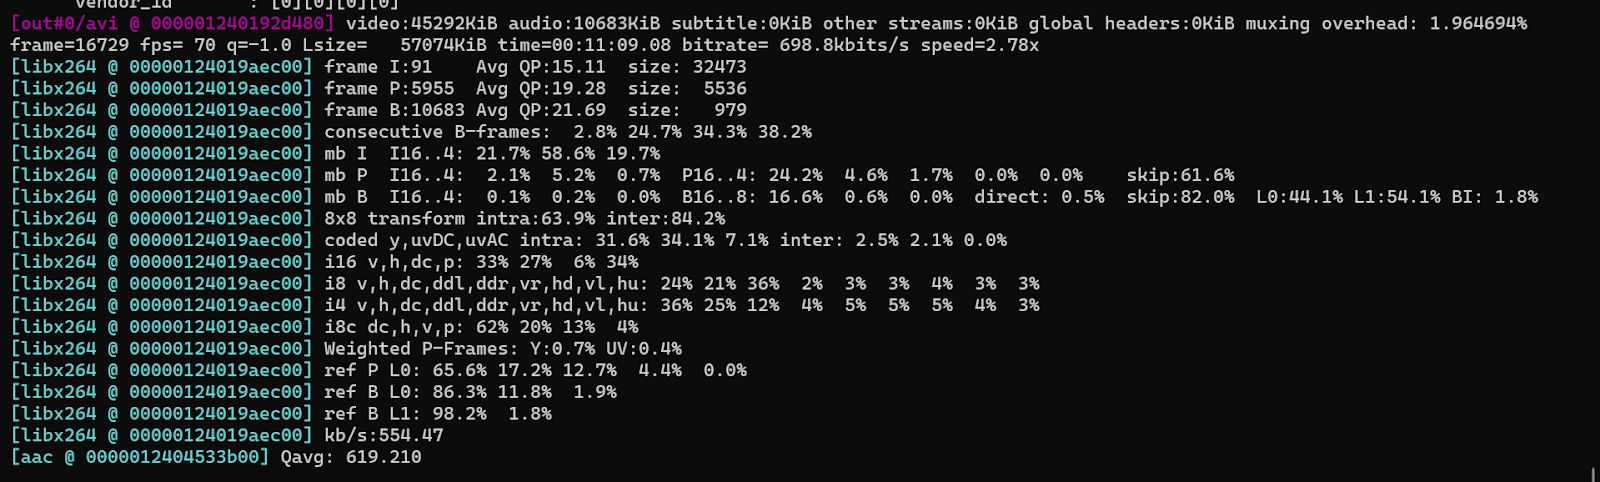
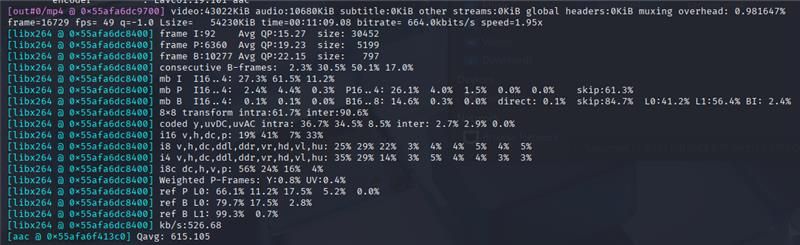
For example, to convert a video from MP4 to AVI, resize it to 1280x720, and apply a filter to change the contrast, you can use the following command:
ffmpeg -i input.mp4 -vf "scale=1280:720,eq=contrast=1.5" -c:v libx264 -c:a aac output.aviHere:
- -i input.mp4: Specifies the input video file.
- -vf "scale=1280:720,eq=contrast=1.5": The video filter (-vf) applies two filters—scaling to 1280x720 and increasing the contrast.
- -c:v libx264: Specifies the video codec for encoding.
- -c:a aac: Specifies the audio codec.
- output.avi: Specifies the output file format.
Automating Multiple Files
To process multiple video files in an automated manner, you can create a script to loop through a directory of files and apply the same FFmpeg operations. Here’s an example of a Bash script that processes all .mp4 files in a directory:
#!/bin/bash
for file in *.mp4; do
    ffmpeg -i "$file" -vf "scale=1280:720" -c:v libx264 -c:a aac "processed_$file"
done
This script will:
- Loop through each .mp4 file in the current directory.
- Apply the scaling filter to resize each video to 1280x720.
- Encode the video using the libx264 codec and the audio using the AAC codec.
- Save each processed video with a prefix of processed_.
Adding Audio Extraction to the Pipeline
You can extend the pipeline to include audio extraction. For example, to extract audio from each video and save it as an MP3 file, modify the script as follows:
#!/bin/bash
for file in *.mp4; do
    # Process video
    ffmpeg -i "$file" -vf "scale=1280:720" -c:v libx264 -c:a aac "processed_$file"

    # Extract audio
    ffmpeg -i "$file" -q:a 0 -map a "audio_${file%.mp4}.mp3"
done
In this script:
- The first ffmpeg command processes the video as before.
- The second ffmpeg command extracts the audio from each video and saves it as an MP3 file.
The output audio files will be named audio_filename.mp3, where filename is the name of the original video.

Audio extraction can also support downstream workflows such as transcription, captions, search indexing, and accessibility. In a larger video knowledge platform, extracted audio may be used to generate transcripts and make video content easier to search and reuse.
Handling Large Files with Batch Processing
For processing large files or a high volume of videos, it is often useful to use a queue-based system or batch processing. You can create a batch processing system that processes video files in smaller chunks. Here's an example:
#!/bin/bash
for file in *.mp4; do
    # Process video in chunks of 5 minutes
    ffmpeg -i "$file" -ss 00:00:00 -t 00:05:00 -c:v libx264 -c:a aac "part_1_$file"
    ffmpeg -i "$file" -ss 00:05:00 -t 00:05:00 -c:v libx264 -c:a aac "part_2_$file"
    # Continue for additional parts as needed
done
This script will:
- Specify the start time (-ss) and duration (-t) to split each video into 5-minute chunks.
- Process each chunk individually and output it as a separate file.
Logging and Error Handling
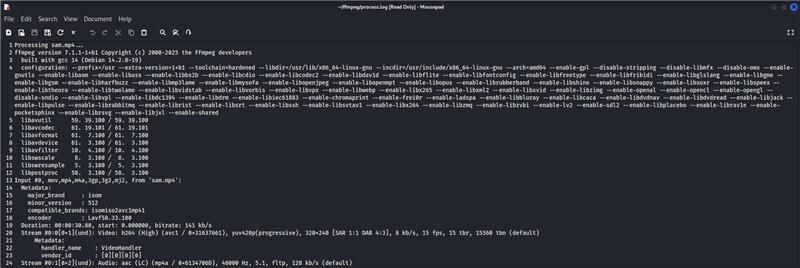
In an automated pipeline, it’s essential to handle errors and log the processing steps. You can modify the script to log the success or failure of each FFmpeg command:
#!/bin/bash
for file in *.mp4; do
    echo "Processing $file..." >> process.log
    if ffmpeg -i "$file" -vf "scale=1280:720" -c:v libx264 -c:a aac "processed_$file" >> process.log 2>&1; then
    echo "Successfully processed $file" >> process.log
fi
    echo "Failed to process $file" >> process.log
done
In this script:
- The >> process.log appends the output of each command to a log file.
- The 2>&1 redirects error messages to the same log file.
- The success or failure of each video processing is logged to track the pipeline's progress.
Improving the Pipeline for Production Use
The examples above show the basic structure of an FFmpeg pipeline, but production systems usually need additional controls.
You may want to add file validation before processing starts. For example, the pipeline can check whether the file exists, whether the format is supported, and whether the file size is within an acceptable range.
You may also want to create multiple output versions of the same video. For example, one upload may generate 1080p, 720p, and 480p versions for adaptive playback. This helps viewers receive the best possible version based on their device and connection.
For larger systems, it is also useful to separate upload, processing, storage, and delivery into different steps. That makes the pipeline easier to monitor, retry, and scale.
How this fits into business video delivery
FFmpeg prepares the media. It can convert formats, resize videos, compress files, extract audio, generate thumbnails, and create outputs suitable for web delivery. This technical layer is important because poor processing can lead to playback issues, large file sizes, slow loading, or inconsistent viewing experiences.
Businesses usually need more than media processing alone. After videos are prepared, teams still need video hosting, access control, private sharing, organized galleries, captions, analytics, and search. Processing makes the file usable, but the delivery platform determines how people access, manage, and learn from that video.
For teams building internal training libraries, customer education portals, support libraries, or private media hubs, FFmpeg can sit behind the scenes as part of the engineering workflow. The broader platform then turns those processed files into structured, secure, and searchable video experiences. For more implementation topics, explore related video engineering guides.