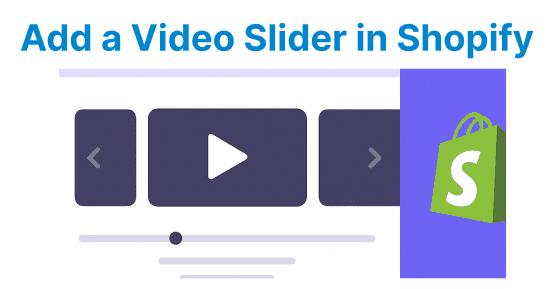
A video slider in Shopify is a section that allows multiple videos to be displayed inside a carousel. Instead of showing one video, users can move through several, much like image sliders that are common in themes. Shopify does not provide a video slider by default, so it must be created manually by adding a new custom section and integrating it with a JavaScript carousel library.
Create a Custom Section
Create a new section file, for example, video-slider.liquid. This section defines how the input fields and settings will appear in the Theme Editor. In the schema of the section, you can create blocks where each block represents one video. Each block includes settings such as a video URL and a poster image. This way, when the section is added through the theme editor, user can enter their own video URLs and upload poster images without touching the code.
{% schema %}
{
"name": "Video Slider",
"settings": [],
"blocks": [
{
"type": "video",
"name": "Video",
"settings": [
{
"id": "video_url",
"type": "url",
"label": "Video URL"
},
{
"id": "poster",
"type": "image_picker",
"label": "Poster Image"
}
]
}
],
"max_blocks": 6,
"presets": [{ "name": "Video Slider" }]
}
{% endschema %}

Add Slider Markup and Logic
Once the schema is ready, you need to write the Liquid and HTML markup that will display the videos on the storefront. The section will loop through the blocks defined in the schema and create a video element for each block. At this stage, the videos are stacked in HTML, but the logic is ready for a carousel to take over. This connects the inputs from the Shopify admin to the actual visual output on the storefront.
<div class="video-slider">
{% for block in section.blocks %}
<div class="video-slide">
<video
controls
preload="none"
poster="{{ block.settings.poster | img_url: '800x' }}">
<source src="{{ block.settings.video_url }}" type="video/mp4">
</video>
</div>
{% endfor %}
</div>
Add Carousel Library
The videos alone will only appear one after another. To make them act as a slider, you need a JavaScript carousel library such as Swiper.js. This library is included in the theme with its CSS and JavaScript files.
<link rel="stylesheet" href="https://cdn.jsdelivr.net/npm/swiper/swiper-bundle.min.css" />
<script src="https://cdn.jsdelivr.net/npm/swiper/swiper-bundle.min.js"></script>
After including the files, you initialize the carousel on the video slider container. The library then adds navigation buttons, looping, and sliding animations, turning the simple list of videos into a functioning video slider.
var swiper = new Swiper(".video-slider", {
slidesPerView: 1,
loop: true,
navigation: {
nextEl: ".swiper-button-next",
prevEl: ".swiper-button-prev",
},
});
Add Section to Theme
After creating the section and configuring the carousel, you make it available in the theme editor. This allows the user to add the video slider to the homepage, product page, or any template that supports sections. The section becomes part of the theme customization process, meaning it can be placed and configured directly from the Shopify interface without requiring further editing of the theme code.
Optimize for Performance
Videos are large files and can slow down a page if they are not managed carefully. To keep the slider fast, poster images are used so that the video files do not load until they are needed. Lazy loading ensures that only the active or visible video loads, instead of all videos at once. JavaScript logic can also pause all videos when the slide changes and play only the video in the active slide.
swiper.on('slideChange', function () {
document.querySelectorAll('.video-slide video').forEach(v => v.pause());
let activeSlide = document.querySelector('.swiper-slide-active video');
if (activeSlide) activeSlide.play();
});