Setting up an assignment to accept YouTube video submissions creates a clear way for learners to share work that cannot be shown through text alone. It further helps instructors review demonstrations, presentations, or creative tasks in a format that is easy to access and consistent for everyone.
As a result, this setup further reduces file-size issues and keeps the submission process uninterrupted for both sides. When the assignment is prepared correctly, learners can focus on producing their video while instructors receive it in a format they can view and evaluate.
Prerequisites
Before configuring the assignment, make sure the following are ready:
- You have a trainer or course creator role with editing rights.
- The course is visible to learners.
- Editing mode is enabled.
- Learners have permission to submit assignments.
- The Moodle text editor supports media embedding (Atto or TinyMCE).
- YouTube is not blocked by any institutional firewall or content filter.
Having these checks in place ensures that learners can embed videos successfully from their YouTube accounts.
Setting Up an Assignment to Allow YouTube Video Submission
You can set up an assignment to allow YouTube video submission to create a clear way for learners to share work that cannot be expressed through written files alone. It ensures the assignment can accept video links, so instructors receive submissions in a format that is easy to view, access, and evaluate.
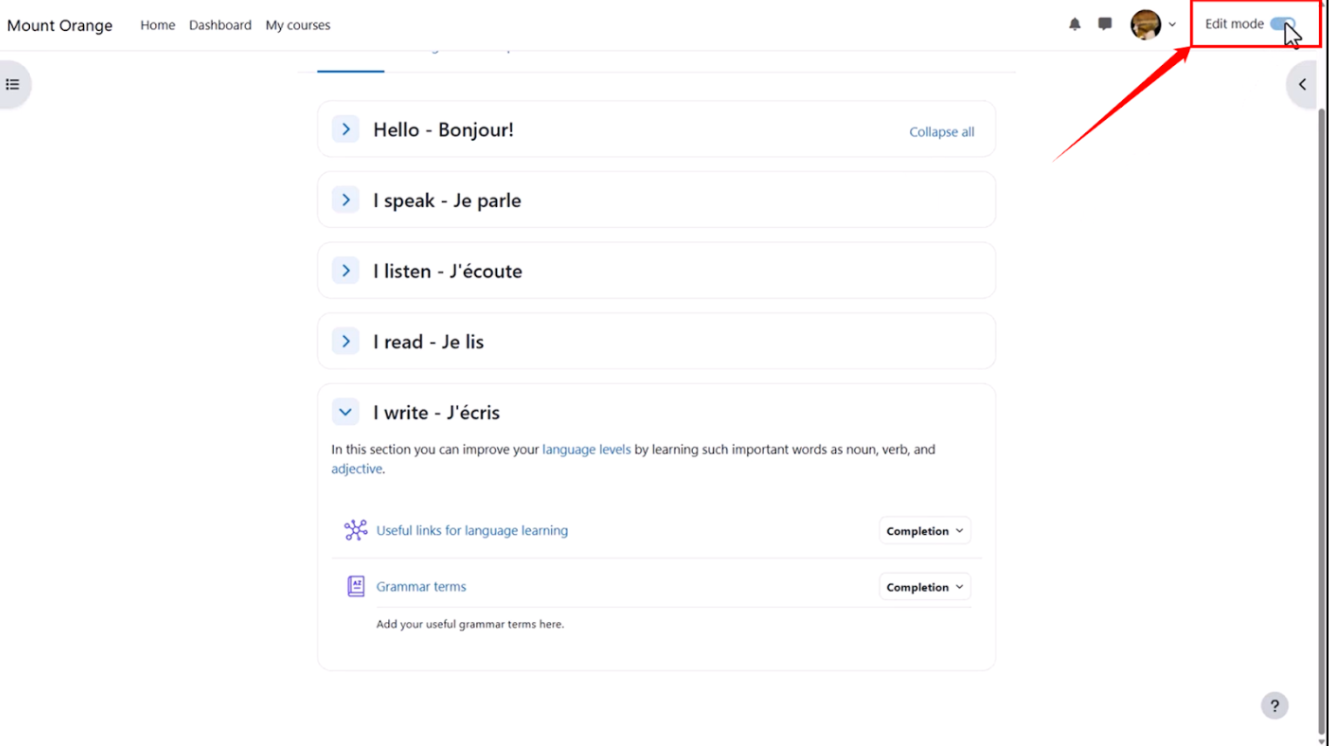
Access Your Moodle Course
Log in to Moodle and navigate to the course where you want to add the assignment. Turn on editing mode (located in the top-right corner of the screen).
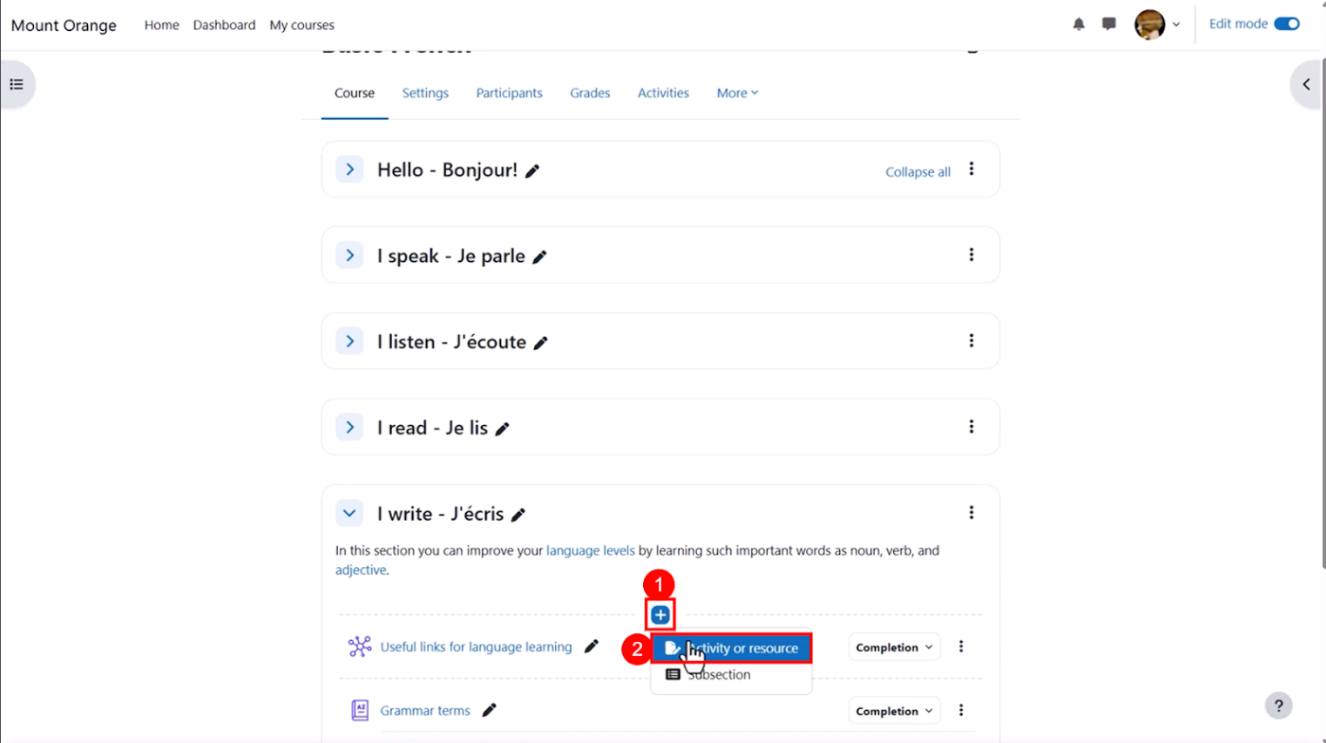
Add an Assignment Activity
Step 1: Navigate to the section of the course page where the assignment will be displayed. Click the “+” icon, then select the “Activity or resource” option.
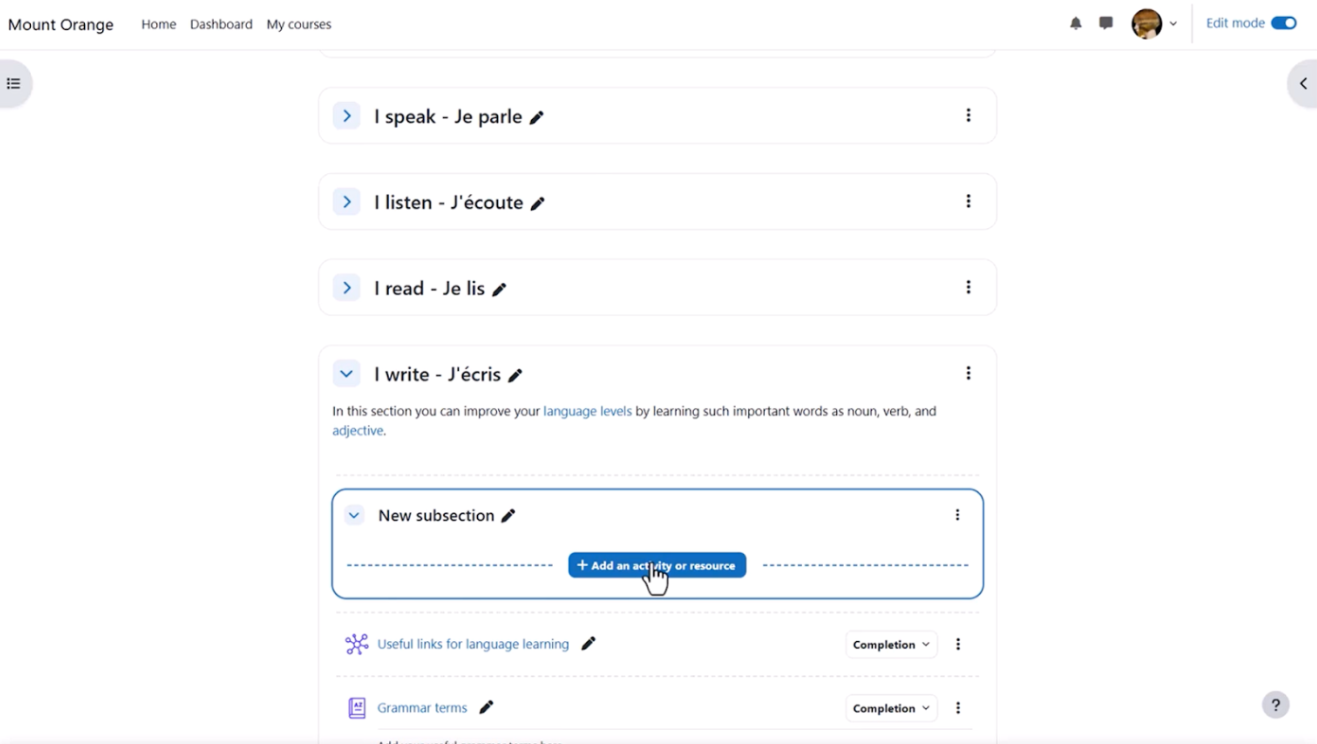
Step 2: A new subsection will be created. Click on the “+ Add an activity or resource” button.
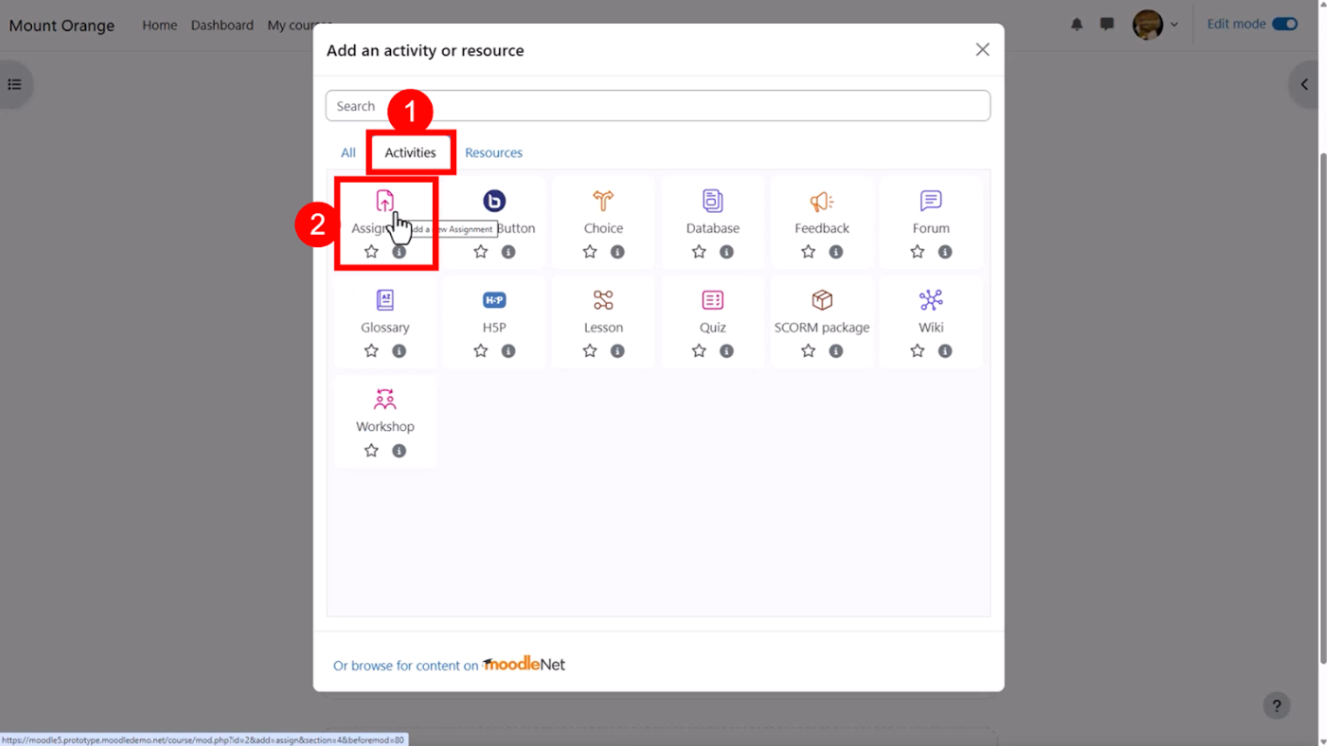
Step 3: In the modal window that appears, open the “Activities” tab and select the “Assignment” option.
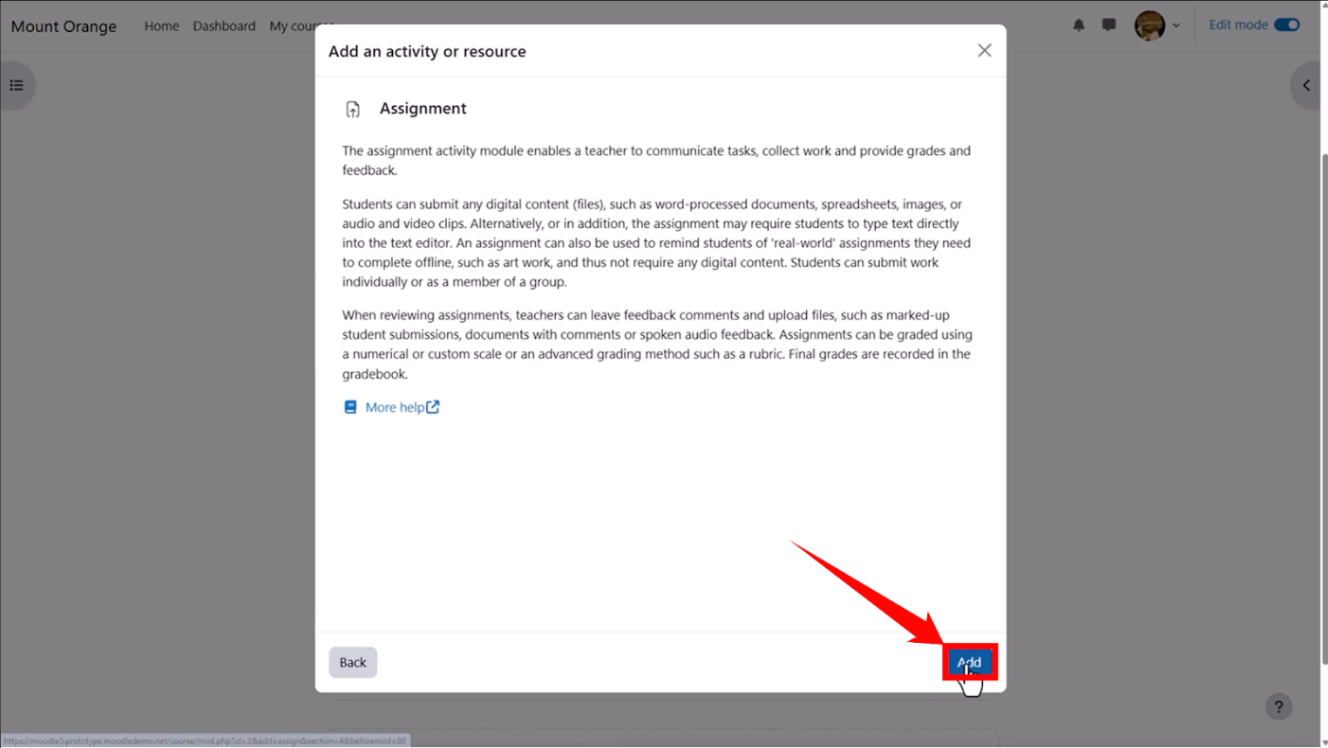
Step 4: An “Add an activity or resource” modal will open. Click the “Add” option, located in the bottom-right corner of the modal.
Configure Basic Settings
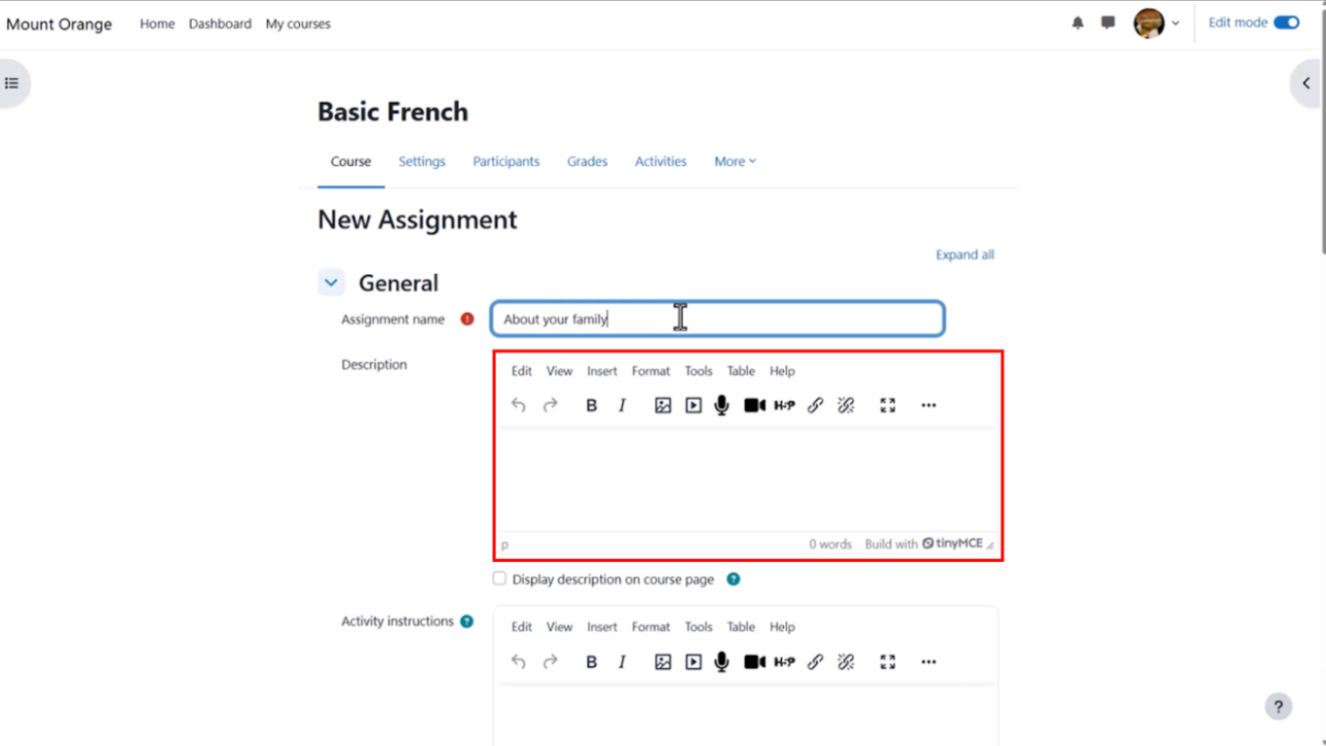
Step 1: A new assignment setup page will open. Enter a clear, descriptive assignment name, such as “About Your Family.”
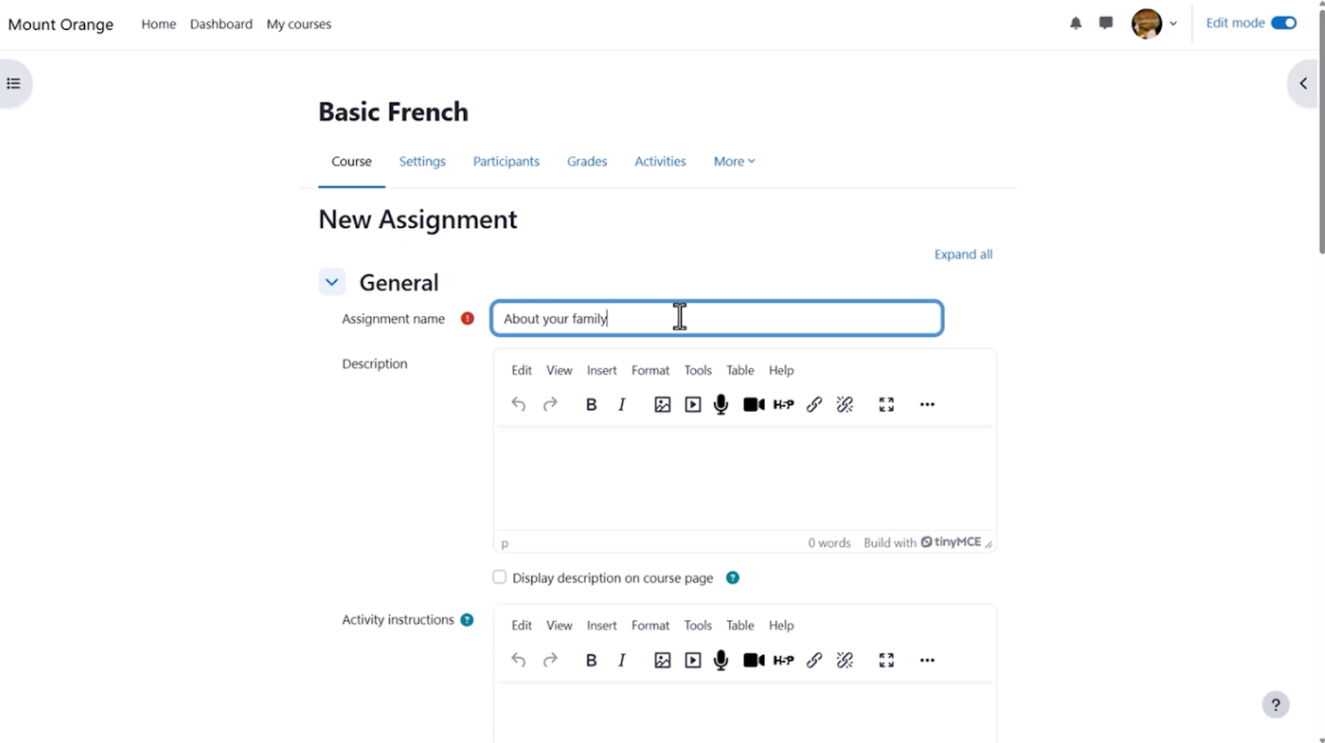
Step 2: Fill in the necessary content within the content editor box.
Set Submission Types
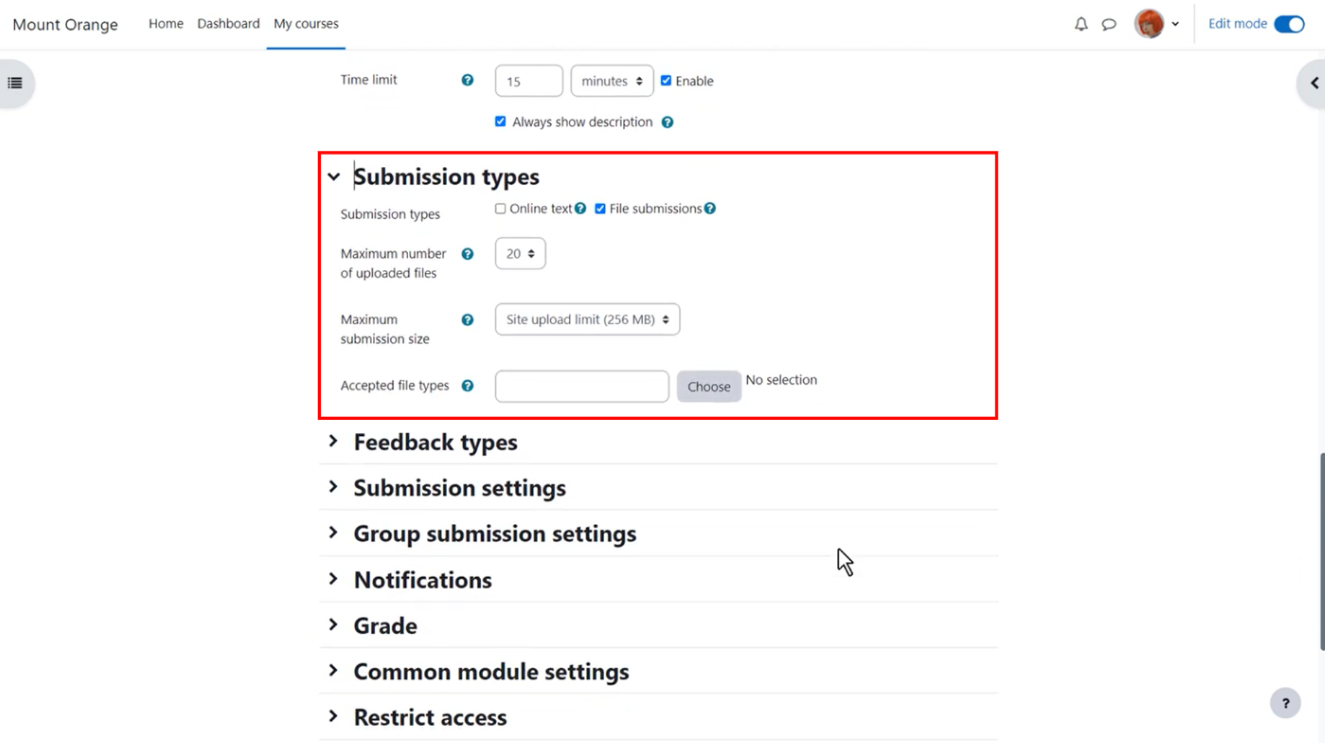
Step 1: In the “Submission types” section, check the “Online text” button to allow learners to paste text, including URLs.

Step 2: Set the maximum number of files, maximum file size, and accepted file types learners can upload.
Configure Feedback and Grading
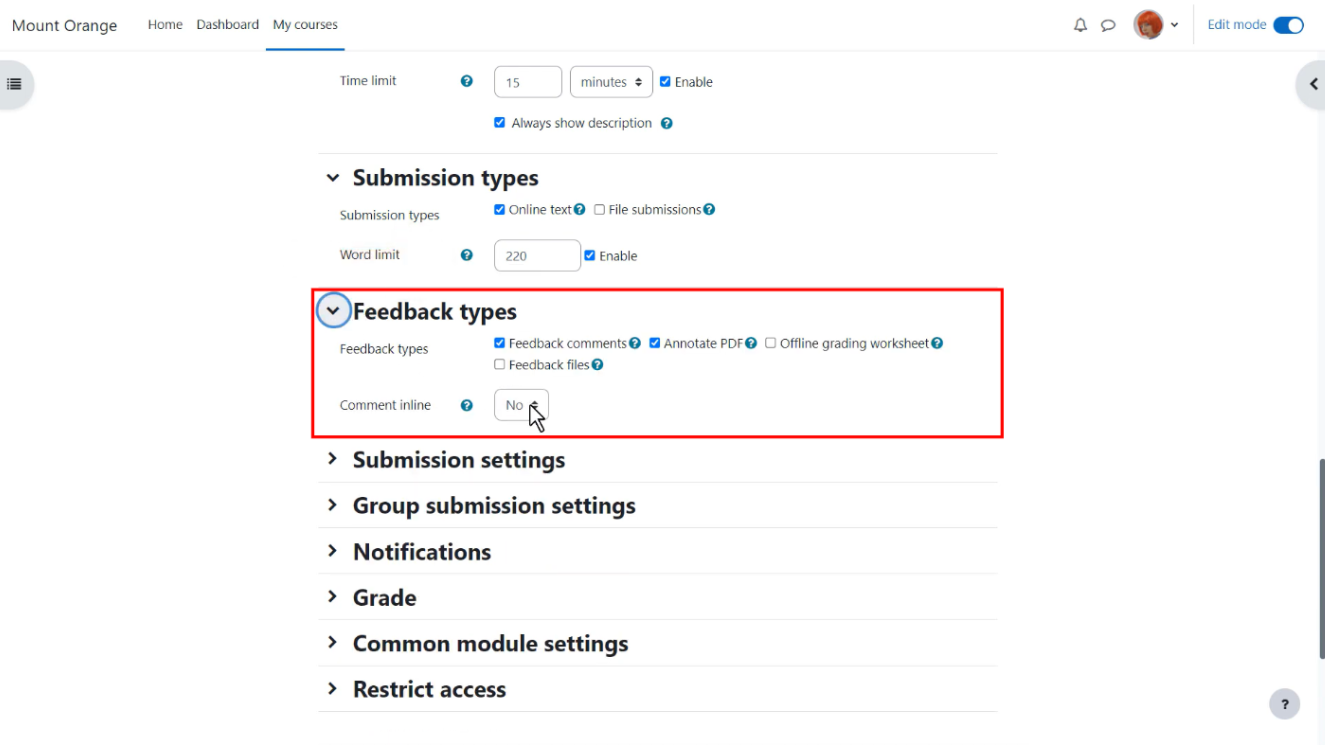
Under the “Feedback types” section, tick the appropriate feedback types and select “Yes” or “No” for comment inclination.
Save and Test
Step 1: If you want to send notifications to the learners regarding any changes in the content, tick the “Send content change notification” box.
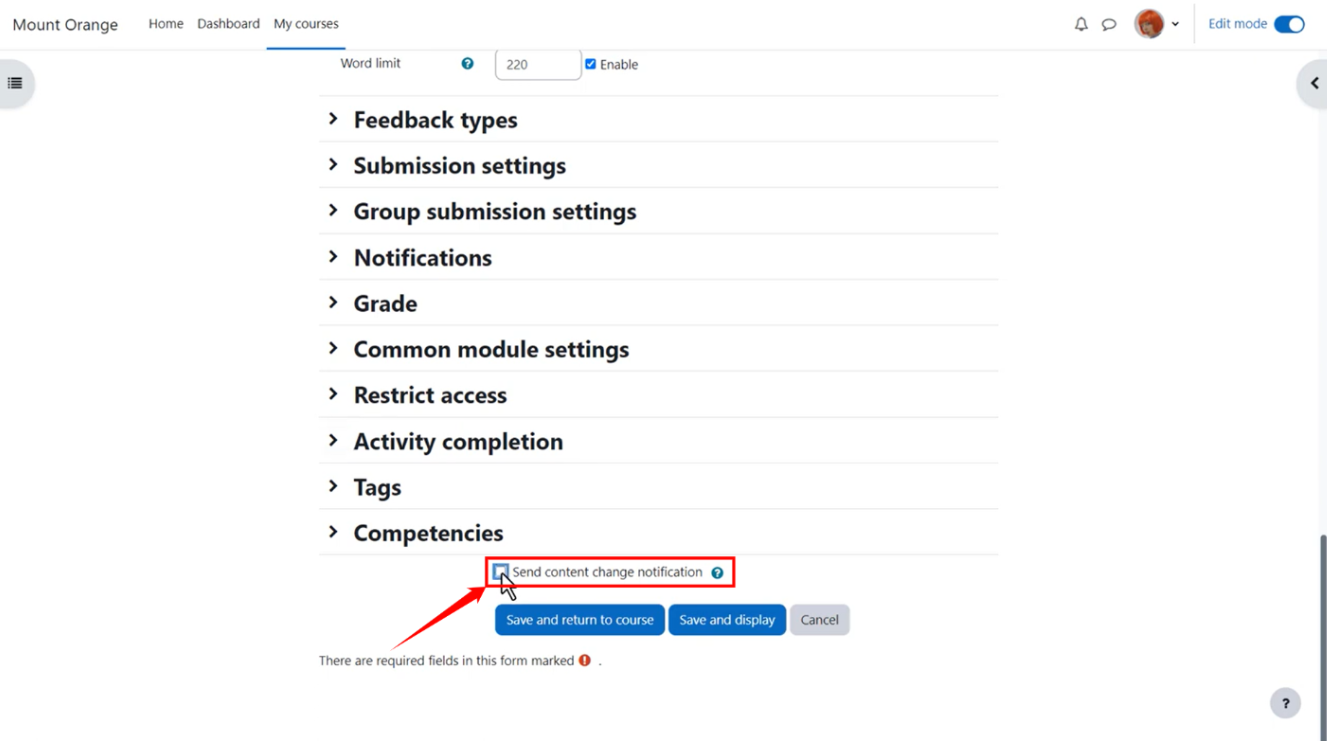
Step 2: Click on the “Save and return to course” button to save the changes you’ve made.
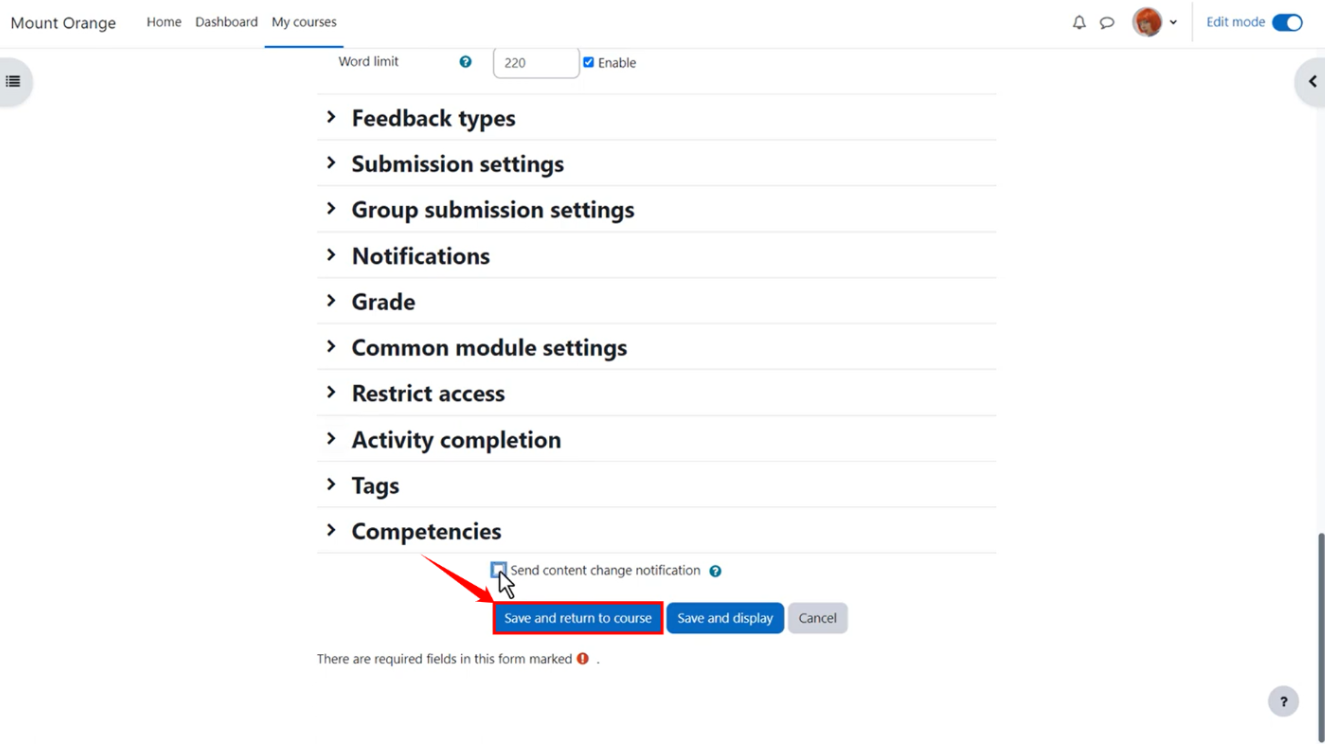
Step 3: Click on the “Save and display” button if you want to save & view the changes you’ve made.
