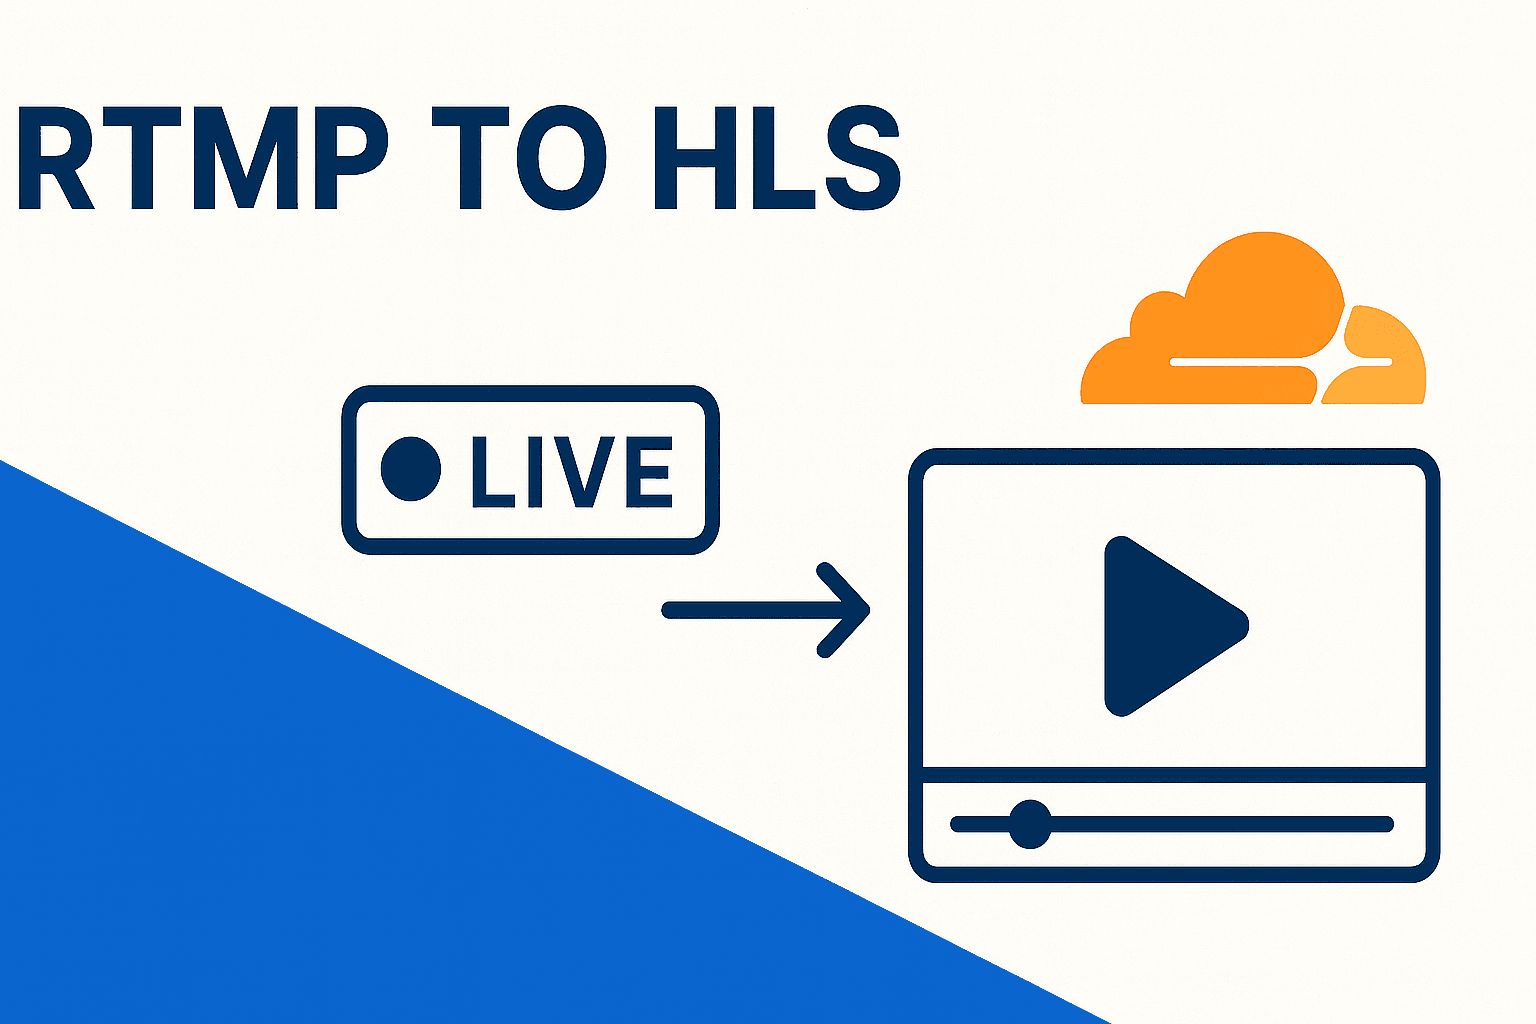
Sending live video as RTMP and delivering it as HLS is a common need when building reliable streaming workflows. RTMP is still widely used for pushing live feeds, but it cannot serve modern devices directly, which creates a gap during playback.
Converting that incoming RTMP stream into HLS through Cloudflare Stream fills this gap by turning a single live input into a format that works everywhere. This process makes the stream easier to distribute, scale, and view without forcing changes on the source encoder.
Prerequisites
These basics ensure the system has everything it needs to accept an RTMP feed and convert it into HLS without interruptions. Having them ready prevents setup gaps that can delay the streaming process.
- A Cloudflare account with access to Stream enabled.
- An RTMP source, like a live video feed from a camera or software.
- Basic knowledge of video streaming and web interfaces.
- A computer with internet access to manage settings.
Set Up Your Cloudflare Stream Account
This setup creates the place where your live RTMP feed will land, giving you a controlled environment to manage inputs and generate the playback formats you need.
Step 1: Open your web browser and go to dash.cloudflare.com to log in.
Step 2: Click on the Stream option in the menu on the left side of the dashboard.
Step 3: Select the button to create a new live input or stream.
Step 4: Enter a name for your stream, like "My Live Event," to keep it organised.
Step 5: Note down the RTMP ingest URL and stream key that Cloudflare generates for you.
Ingest the RTMP Stream
Ingesting the stream sends your live video from the encoder to Cloudflare, forming the bridge that moves your raw feed into the processing pipeline.
Step 1: Launch your RTMP source software, for example, OBS Studio, on your computer.
Step 2: Navigate to the settings menu in the software and find the stream configuration.
Step 3: Choose the option for a custom RTMP server.
Step 4: Paste the RTMP ingest URL from Cloudflare into the server address field.
Step 5: Enter the stream key from Cloudflare into the corresponding field and save the settings.
Step 6: Start the broadcast in your software to begin sending the video to Cloudflare.
Convert to HLS Format
The conversion stage turns the incoming RTMP feed into HLS, so the stream becomes compatible with modern devices without changing your source.
Step 1: Confirm that your RTMP stream is actively sending data to Cloudflare.
Step 2: Allow Cloudflare to automatically start processing the incoming video.
Step 3: Check the status in your Cloudflare dashboard, which should indicate processing.
Step 4: Wait for the system to break the video into HLS segments without any input from you.
Step 5: Verify in the dashboard that HLS files are being created and listed.
Access Your HLS Stream
Once HLS output is ready, this step gives you the direct playback link your players and applications will use to show the live stream.
Step 1: Return to your Cloudflare Stream dashboard after the conversion begins.
Step 2: Locate the details for your live stream in the list.
Step 3: Find the playback URL, which is the HLS link ending in .m3u8.
Step 4: Copy this URL to your clipboard or a note.
Step 5: Open the URL in a compatible video player or browser to confirm it plays the stream.
Handle Live and Recorded Videos
Managing live and recorded outputs ensures your event continues to be accessible after the broadcast ends, using the same workflow and playback link.
Step 1: Keep your RTMP source running for the duration of the live event.
Step 2: When the event ends, stop the broadcast in your source software.
Step 3: In Cloudflare, the live stream will automatically transition to a recorded state.
Step 4: Access the recorded video from your Stream dashboard under past streams.
Step 5: Use the same HLS playback URL for the recording or download it if needed.
Test and Monitor
Testing the setup helps confirm that the stream behaves correctly under real conditions, while monitoring keeps you aware of quality and performance.
Step 1: Set up a brief test by configuring a short RTMP feed in your source software.
Step 2: Send the test stream to Cloudflare and initiate the conversion.
Step 3: Open the HLS playback URL in a web browser or video app.
Step 4: Observe the playback for smoothness and any interruptions.
Step 5: Review Cloudflare's analytics section for data on viewers, errors, and performance.
Embed in Your Site
Embedding the HLS output on your site lets viewers watch the stream directly within your page, using a simple link that works across browsers and devices.
Step 1: Open the code editor or HTML file for your website.
Step 2: Insert a video element, such as <video controls>, into the page.
<video controls src="https://example.cloudflarestream.com/your-stream.m3u8"></video>Step 3: Set the source attribute to your HLS URL, like src="https://example.cloudflarestream.com/your-stream.m3u8".
Step 4: Add any additional attributes, like width or height, for better display.
Step 5: Save the changes and upload the file to your web server.
Step 6: Visit the page in a browser to test that the video embeds and plays correctly.