Managing video content involves not just storing but efficiently organizing, processing, and delivering high-quality videos across various platforms. A hybrid architecture using a headless CMS, cloud infrastructure, and CDNs provides the necessary flexibility and scalability to meet the growing demand for global video delivery.
This ensures fast playback, reliable streaming, and simple content management. The components of this architecture allow organizations to manage video metadata, handle transcoding, and securely deliver videos to end-users globally.
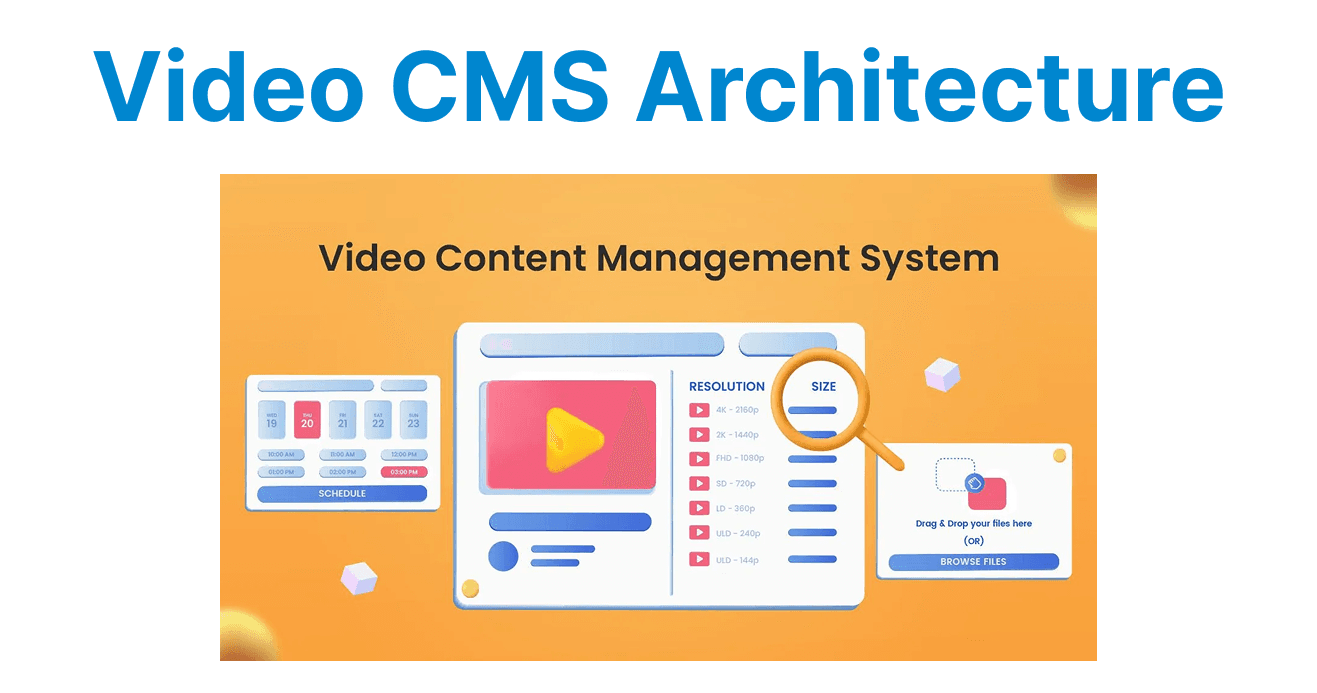
Overview of Video CMS Architecture
The architecture integrates a headless CMS for managing video metadata, cloud infrastructure for scalable storage and processing, and a CDN for efficient delivery. This flexible, decoupled approach allows video content to be delivered across different platforms, ensuring fast and secure access to video content without sacrificing performance.
The integration of each component in the architecture provides an efficient way to manage video assets, optimize delivery speeds, and scale as needed.
Key Components:
- Headless CMS: Used for managing video metadata (e.g., title, description, thumbnail, etc.).
- Cloud Infrastructure: Manages video storage, transcoding, and streaming services.
- CDN (Content Delivery Network): Accelerates video delivery by caching content closer to end users.
Setting Up the Headless CMS for Video Management
A headless CMS enables flexibility and scalability for video platforms by allowing developers to manage video content and metadata without being tied to a specific front-end framework. Popular headless CMS solutions like Strapi, Contentful, or Sanity offer robust APIs to manage video data and integrate seamlessly with other components of the architecture.
Example: Configuring Strapi for Video Metadata
To configure Strapi, you will first need to set up a collection type for managing videos.
Define Video Collection Type in Strapi:
- Go to the admin panel of Strapi and create a new content type called "Videos."
- Add fields such as
title,description,thumbnail,video_url, andtags.
Configure Relations with Other Content Types
- If you want to associate videos with other types (e.g., categories, tags, or user profiles), you can create relationships between these content types.
Example of defining a video model in Strapi:
// api/video/models/video.settings.json
{
"kind": "collectionType",
"collectionName": "videos",
"info": {
"name": "Video",
"description": "Manage video content"
},
"attributes": {
"title": {
"type": "string"
},
"description": {
"type": "text"
},
"thumbnail": {
"type": "media",
"multiple": false,
"required": true
},
"video_url": {
"type": "string"
},
"tags": {
"type": "relation",
"relation": "manyToMany",
"target": "tag"
}
}
}
Explanation:
- title: A string type attribute for storing the video title.
- description: A text attribute for the video description.
- thumbnail: A media type attribute for storing the video thumbnail.
- video_url: Stores the URL pointing to the actual video file.
- tags: A relation type for tagging videos, allowing for better categorization.
Storing Video Files in the Cloud
Cloud storage solutions like AWS S3 provide scalable and secure storage for large video files. After video transcoding, the video files are uploaded to the cloud storage for easy retrieval and distribution.
Example: Uploading Video to AWS S3 Using Node.js
To upload video files to an S3 bucket, use the AWS SDK. You can integrate this functionality into your video CMS.
{
"kind": "collectionType",
"collectionName": "videos",
"info": {
"name": "Video",
"description": "Manage video content"
},
"attributes": {
"title": {
"type": "string"
},
"description": {
"type": "text"
},
"thumbnail": {
"type": "media",
"multiple": false,
"required": true
},
"video_url": {
"type": "string"
},
"tags": {
"type": "relation",
"relation": "manyToMany",
"target": "tag"
}
}
}
Explanation:
- fileContent: Reads the video file from the local filesystem.
- params: Defines the S3 upload parameters, including bucket name, video file path, and content type.
- s3.upload: Uploads the video file to the specified S3 bucket and makes it publicly accessible.
Video Transcoding for Multiple Formats
Video transcoding is the process of converting videos into various formats or resolutions to optimize delivery based on the device and network conditions. Cloud services like AWS Elemental MediaConvert or AWS Lambda can automate video transcoding.
Example: Using AWS Elemental MediaConvert for Transcoding
{
"kind": "collectionType",
"collectionName": "videos",
"info": {
"name": "Video",
"description": "Manage video content"
},
"attributes": {
"title": {
"type": "string"
},
"description": {
"type": "text"
},
"thumbnail": {
"type": "media",
"multiple": false,
"required": true
},
"video_url": {
"type": "string"
},
"tags": {
"type": "relation",
"relation": "manyToMany",
"target": "tag"
}
}
}
Explanation:
- Role: Specifies the IAM role required for MediaConvert to perform transcoding.
- HlsGroupSettings: Configures the HLS output destination.
- CodecSettings: Defines the video codec used (e.g., H.264).
- createJob: Initiates a transcoding job on MediaConvert to convert the video to multiple formats.
CDN Integration for Fast Video Delivery
CDN services like AWS CloudFront, Cloudflare, or Akamai cache video files at multiple edge locations, ensuring faster delivery of video content to users globally. Integrating a CDN with your cloud storage helps reduce buffering times and improves user experience.
Example: Integrating AWS CloudFront for Video Delivery
To configure CloudFront for video delivery, you need to set up a CloudFront distribution with your S3 bucket as the origin.
const AWS = require('aws-sdk');
const cloudfront = new AWS.CloudFront();

const createCloudFrontDistribution = async (s3Bucket) => {
const params = {
DistributionConfig: {
CallerReference: `video-distribution-${Date.now()}`,
Origins: {
Items: [{
Id: 'S3Origin',
DomainName: `${s3Bucket}.s3.amazonaws.com`,
S3OriginConfig: {
OriginAccessIdentity: ''
}
}],
Quantity: 1
},
DefaultCacheBehavior: {
TargetOriginId: 'S3Origin',
ViewerProtocolPolicy: 'redirect-to-https',
AllowedMethods: {
Items: ['GET', 'HEAD', 'OPTIONS'],
Quantity: 3
},
ForwardedValues: {
QueryString: false,
Cookies: {
Forward: 'none'
}
}
},
Enabled: true
}
};

try {
const data = await cloudfront.createDistribution(params).promise();
console.log('CloudFront distribution created:', data);
} catch (err) {
console.error('Error creating CloudFront distribution:', err);
}
};
Explanation:
- DistributionConfig: Defines the configuration for the CloudFront distribution, including the origin and cache behavior.
- createDistribution: Creates a CloudFront distribution to deliver video content globally with low latency.
Handling Video Access Control
To restrict access to video content, you can configure access control lists (ACLs) or use pre-signed URLs in your cloud storage solution. Pre-signed URLs allow users to access videos for a limited period.
Example: Generating Pre-signed URLs for S3 Videos
const AWS = require('aws-sdk');
const cloudfront = new AWS.CloudFront();

const createCloudFrontDistribution = async (s3Bucket) => {
const params = {
DistributionConfig: {
CallerReference: `video-distribution-${Date.now()}`,
Origins: {
Items: [{
Id: 'S3Origin',
DomainName: `${s3Bucket}.s3.amazonaws.com`,
S3OriginConfig: {
OriginAccessIdentity: ''
}
}],
Quantity: 1
},
DefaultCacheBehavior: {
TargetOriginId: 'S3Origin',
ViewerProtocolPolicy: 'redirect-to-https',
AllowedMethods: {
Items: ['GET', 'HEAD', 'OPTIONS'],
Quantity: 3
},
ForwardedValues: {
QueryString: false,
Cookies: {
Forward: 'none'
}
}
},
Enabled: true
}
};

try {
const data = await cloudfront.createDistribution(params).promise();
console.log('CloudFront distribution created:', data);
} catch (err) {
console.error('Error creating CloudFront distribution:', err);
}
};
Explanation:
- getSignedUrlPromise: Generates a pre-signed URL that grants temporary access to the video file for a specified period (in this case, 1 hour).
- Expires: Defines the expiration time of the URL to control access duration.