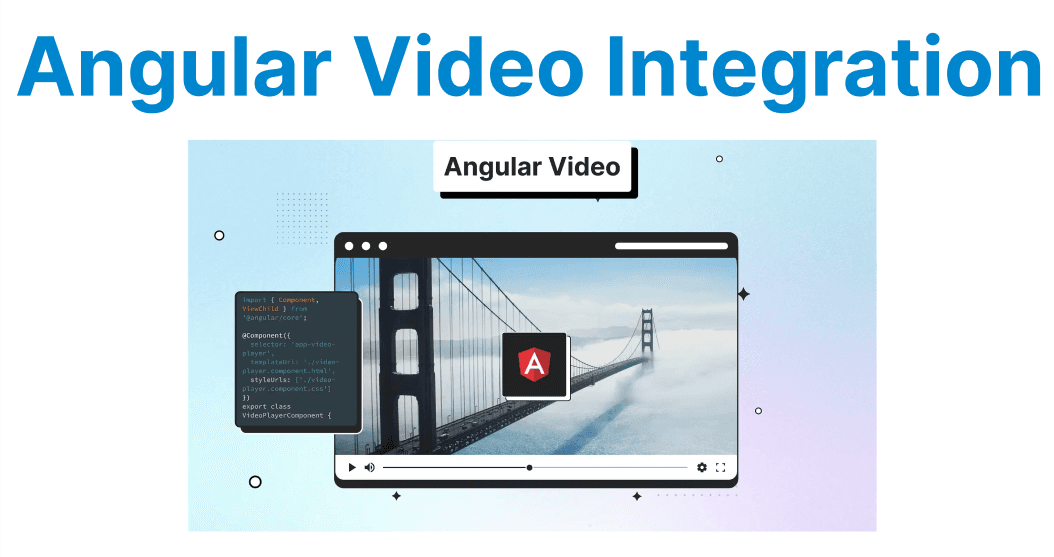
Integrating video playback within Angular applications involves embedding <video> elements and managing their behavior through Angular’s data binding and event handling mechanisms. It requires careful handling of dynamic video sources, playback events, and lifecycle hooks to ensure consistent functionality and maintainable code. Proper implementation supports responsive design, accessibility, and seamless integration with third-party libraries.
Setting Up Video Players in Angular
A basic video player can be embedded directly in Angular templates using the native <video> element. For more advanced needs, third-party libraries can be incorporated. The setup defines the video source and enables standard browser controls for playback.
Example of Basic Video Player Setup in Angular
<!-- app.component.html -->
<video controls>
<source src="assets/video.mp4" type="video/mp4">
Your browser does not support the video tag.
</video>
Explanation:
- The <video> element is used for embedding video content.
- The controls attribute enables the browser’s native video controls (play, pause, volume).
- The <source> element defines the video file’s path and type for cross-browser compatibility.
Using Angular Component for Video Control
Encapsulating the video element within an Angular component allows programmatically managing video playback. Angular’s event binding facilitates responding to user interactions such as play and pause, linking video events to component logic.
// app.component.ts
import { Component } from '@angular/core';
@Component({
selector: 'app-video-player',
templateUrl: './app.component.html',
styleUrls: ['./app.component.css']
})
export class VideoPlayerComponent {
videoUrl: string = 'assets/video.mp4'
onPlay() {
console.log('Video is playing');
}
onPause() {
console.log('Video is paused');
}

<!-- app.component.html -->
<video controls (play)="onPlay()" (pause)="onPause()">
<source [src]="videoUrl" type="video/mp4">
Your browser does not support the video tag.
</video>
Explanation:
- Angular component properties (like videoUrl) are bound to the <video> tag dynamically.
- The (play) and (pause) event bindings call the onPlay and onPause methods, respectively, for easy interaction with the video player.
Handling Video Playback Events in Angular
Angular's two-way data binding and event handling mechanisms come in handy to integrate video events like play, pause, seek, and error handling. Angular provides a straightforward way to track and respond to video player events using the @Output decorator or direct event bindings.
Example of Handling Video Progress and Seek Events
<!-- app.component.html -->
<video controls (timeupdate)="onTimeUpdate($event)" (seeked)="onSeek($event)">
<source [src]="videoUrl" type="video/mp4">
</video>
// app.component.ts
onTimeUpdate(event: Event) {
const videoElement = event.target as HTMLVideoElement;
console.log('Current time:', videoElement.currentTime);
}
onSeek(event: Event) {
const videoElement = event.target as HTMLVideoElement;
console.log('Video seeked to:', videoElement.currentTime);
}
Explanation:
- The timeupdate event fires as the video plays to update the current time of the video.
- The seeked event fires when a user manually seeks through the video. These events provide feedback about the playback progress.
Managing Video Sources Dynamically
Angular components can manage multiple video sources and switch between them based on user interaction or application logic. Updating the bound video source property ensures the video element reloads and reflects the new content.
Example: Dynamic Video Source Switching
// app.component.ts
export class VideoPlayerComponent {
videoSources = [
{ url: 'assets/video1.mp4', title: 'Video 1' },
{ url: 'assets/video2.mp4', title: 'Video 2' },
{ url: 'assets/video3.mp4', title: 'Video 3' },
];
currentVideo = this.videoSources[0];
switchVideo(video) {
this.currentVideo = video;
}
}
<!-- app.component.html -->
<video controls>
<source [src]="currentVideo.url" type="video/mp4">
Your browser does not support the video tag.
</video>

<div *ngFor="let video of videoSources">
<button (click)="switchVideo(video)">{{ video.title }}</button>
</div>
Explanation:
- The component's currentVideo property holds the currently active video.
- When a button is clicked, the switchVideo() method updates the currentVideo property to change the video source dynamically.
Using Third-Party Libraries for Advanced Features
For more advanced video functionality, such as adaptive bitrate streaming, subtitles, or custom controls, integrating third-party libraries like ngx-videogular, video.js, or plyr is a common approach. These libraries provide built-in features like custom playback controls, multi-language support, and streaming protocols like HLS and DASH.
Example: Using Video.js with Angular
Install Video.js and its Angular Wrapper via NPM:
Use npm to add Video.js and its Angular wrapper to your project. This installs the necessary packages for integrating Video.js into Angular components.
npm install video.js npm install video.js-angularImport Video.js into your Angular Component:
In your Angular component file, import the Video.js library to initialize and configure the video player inside the component.
// app.component.ts
import { Component, OnInit } from '@angular/core';
import * as videojs from 'video.js';
@Component({
selector: 'app-video-player',
templateUrl: './app.component.html',
styleUrls: ['./app.component.css']
})
export class VideoPlayerComponent implements OnInit {
ngOnInit() {
const player = videojs('my-video', {
autoplay: true,
controls: true,
preload: 'auto'
});
}
}
Set Up the HTML Structure for the Video Player:
In your Angular template file, add a <video> element with the matching ID and apply Video.js CSS classes to enable the player’s styling and functionality.
<!-- app.component.html -->
<video id="my-video" class="video-js vjs-default-skin" controls>
<source src="assets/video.mp4" type="video/mp4">
</video>
Explanation:
- Video.js provides a robust API to handle video controls, stream quality, and playback features.
- The videojs() function is used to initialize the player on the <video> element, and additional options like autoplay and controls are set.
Enhancing Video Player Accessibility
Ensuring that video content is accessible is essential for reaching a wider audience. Angular allows easy integration of accessibility features such as subtitles, closed captions, and audio descriptions by utilizing the <track> element in the video player.
Example: Adding Subtitles and Captions in Angular
<video controls>
<source src="video.mp4" type="video/mp4">
<track src="subtitles_en.vtt" kind="subtitles" srclang="en" label="English">
<track src="subtitles_es.vtt" kind="subtitles" srclang="es" label="Spanish">
</video>
Explanation:
- Subtitles and captions can be added to the video player using the <track> element.
- Each <track> element specifies a different language or type of subtitle.
Best Practices for Video Integration in Angular
Use Angular’s Data Binding and Event Handling
Leverage Angular’s property binding and event binding to connect video element attributes and events with component logic. This enables reactive and maintainable code that cleanly separates UI from behavior.
Encapsulate Video Logic Within Components
Encapsulate video playback and control logic inside dedicated Angular components. This modular approach improves reusability, testability, and keeps templates clean.
Handle Video Events Efficiently
Use event listeners such as play, pause, timeupdate, and seeked to monitor and respond to user interaction and playback state. Avoid excessive DOM queries by accessing event targets directly via Angular event objects.
Manage Dynamic Video Sources Properly
When switching between videos dynamically, update the bound source property instead of manipulating the DOM directly. Ensure the player reloads or resets as needed to handle the new source.
Integrate Third-Party Libraries with Lifecycle Hooks
When using libraries like Video.js, initialize and dispose of player instances in Angular lifecycle hooks (ngOnInit and ngOnDestroy) to prevent memory leaks and ensure proper cleanup.
Support Accessibility Standards
Implement accessibility features by using <track> elements for subtitles and captions. Provide multiple language tracks where applicable, and ensure that custom controls are keyboard navigable and labeled appropriately.