FFmpeg is an open-source command-line tool for handling video, audio, and other multimedia files and streams. It supports vrious tasks, from video conversion to advanced encoding settings to make it an essential tool for video professionals.
Basic Video Conversion
FFmpeg allows users to convert video files between formats, adjusting quality or other output settings.
Convert Video to MP4
This command converts an AVI file to MP4 format. The input file is input.avi, and the output file is output.mp4.
ffmpeg -i input.avi -c:v libx264 output.mp4
Video Codec Selection
FFmpeg provides support for a variety of video codecs. Selecting the appropriate codec optimizes video quality and file size.
Encode to H.264
This command encodes the video using the H.264 codec (libx264). The input video file is input.mp4, and the output is also an MP4 file encoded with H.264.
ffmpeg -i input.mp4 -c:v libx264 output.mp4

Encode to HEVC (H.265)
This command converts the video to the HEVC (H.265) codec to provide a better compression than H.264 at the same quality level.
ffmpeg -i input.mp4 -c:v libx265 output.mp4
Encode to VP9 (for Web)
Converts the video to VP9 format, commonly used for web-based streaming on platforms like YouTube.
ffmpeg -i input.mp4 -c:v libvpx-vp9 output.webm
Bitrate Control
Bitrate is a key factor in determining video quality and file size. Users can use FFmpeg to specify a target bitrate during encoding.
Set Constant Bitrate (CBR)
The video is encoded with a constant bitrate of 1 Mbps (-b:v 1M). This is useful for streaming platforms where consistent bandwidth is required.
ffmpeg -i input.mp4 -c:v libx264 -b:v 1M output.mp4
Set Variable Bitrate (VBR)
The CRF (Constant Rate Factor) value controls the video quality for variable bitrate encoding. Lower CRF values (e.g., 18) result in better quality and larger file sizes, while higher values (e.g., 28) reduce file size at the cost of quality. A value of 23 is considered a good default.
ffmpeg -i input.mp4 -c:v libx264 -crf 23 output.mp4
Resolution and Scaling
Scaling videos is useful for optimizing content for different devices and platforms.
Scale Video to a Specific Resolution
This command scales the video to 1280x720 resolution (HD). Use this for reducing video size or preparing for specific device requirements.
ffmpeg -i input.mp4 -vf "scale=1280:720" output.mp4
Auto-Scaling to Maintain Aspect Ratio
The -1 in the scale option automatically adjusts the height to maintain the aspect ratio while scaling the width to 1280px.
ffmpeg -i input.mp4 -vf "scale=1280:-1" output.mp4
Audio Settings
Audio settings such as codec, bitrate, and sample rate must be configured to match the requirements of the target playback environment.
Change Audio Codec (AAC)
This command converts the audio codec to AAC with a bitrate of 128kbps. AAC is widely used in modern video formats for its efficiency.
ffmpeg -i input.mp4 -c:a aac -b:a 128k output.mp4
Change Audio Sample Rate
This sets the audio sample rate to 44.1 kHz, which is standard for most audio playback systems.
ffmpeg -i input.mp4 -ar 44100 output.mp4
Frame Rate and Frame Rate Conversion
FFmpeg provides tools to set or adjust the frame per second rate (FPS) for compatibility with different platforms.
Set Frame Rate
This command sets the video frame rate to 30 FPS for most online streaming platforms.
ffmpeg -i input.mp4 -r 30 output.mp4
Convert Frame Rate
This converts the video to 25 FPS. Use this for adjusting videos to match different regional broadcast standards (e.g., PAL).
ffmpeg -i input.mp4 -filter:v "fps=25" output.mp4
Video Filters and Effects
FFmpeg includes a wide range of video filters to apply visual effects and corrections.
Apply Grayscale Filter
This command converts the video to grayscale using the hue=s=0 filter to removes the color saturation.
ffmpeg -i input.mp4 -vf "hue=s=0" output.mp4
Crop Video
This command crops the video to a resolution of 640x480, starting from the top-left corner (0,0).
ffmpeg -i input.mp4 -vf "crop=640:480:0:0" output.mp4
Video Conversion to Streaming Formats
FFmpeg supports various streaming protocols for live streaming or on-demand services.
Create an HLS Stream
This command generates an HLS stream from a video file. It breaks the video into 10-second segments and generates a playlist.m3u8 file for streaming.
ffmpeg -i input.mp4 -c:v libx264 -c:a aac -f hls -hls_time 10 -hls_list_size 5 -hls_segment_filename "segment_%03d.ts" playlist.m3u8
Trimming and Seeking
FFmpeg supports precise trimming and seeking to extract parts of a video without re-encoding (or with re-encoding if needed).
Trim Video from Start Time to Duration
This command trims 10 seconds starting from 00:00:05, without re-encoding the video.
ffmpeg -ss 00:00:05 -t 10 -i input.mp4 -c copy output.mp4
Trim Video Between Two Time Points
This command trims the video from 00:00:10 to 00:00:30, without re-encoding the video.
ffmpeg -ss 00:00:10 -to 00:00:30 -i input.mp4 -c copy output.mp4
Remuxing (Container Change Without Re-encoding)
Remuxing allows changing the container format without altering the video/audio streams to offer fast and lossless conversion.
Convert MKV to MP4 Without Re-encoding
This command changes the container format from MKV to MP4 without re-encoding the video or audio.
ffmpeg -i input.mkv -c copy output.mp4
Codec Listing and Exploration
For discovering available codecs and understanding what FFmpeg can work with, use the following:
List All Supported Codecs
This command lists all codecs supported by FFmpeg, both video and audio
ffmpeg -codecs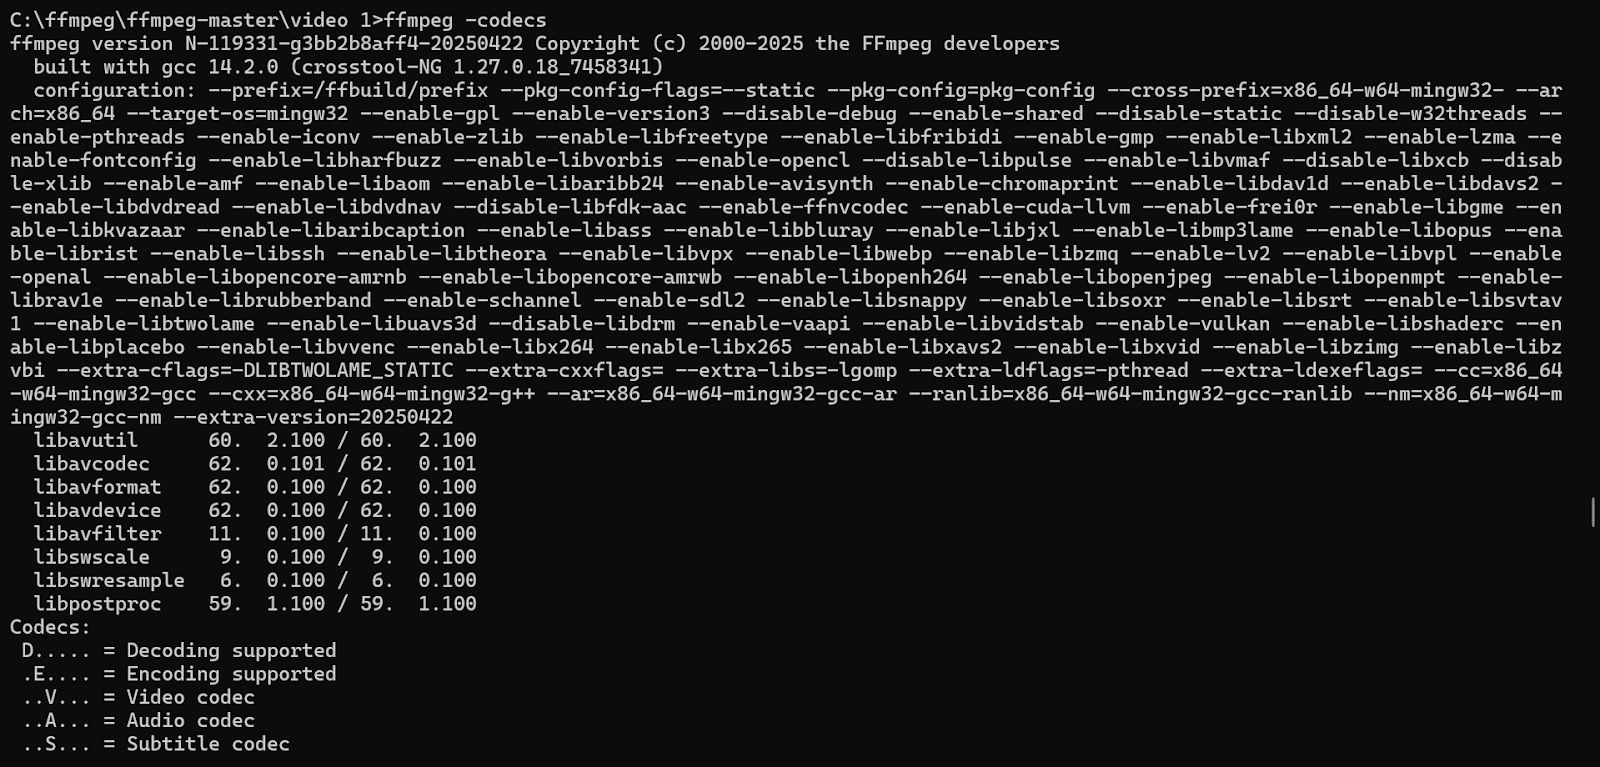
List All Supported Formats
This command lists all the formats (containers) supported by FFmpeg.
ffmpeg -formats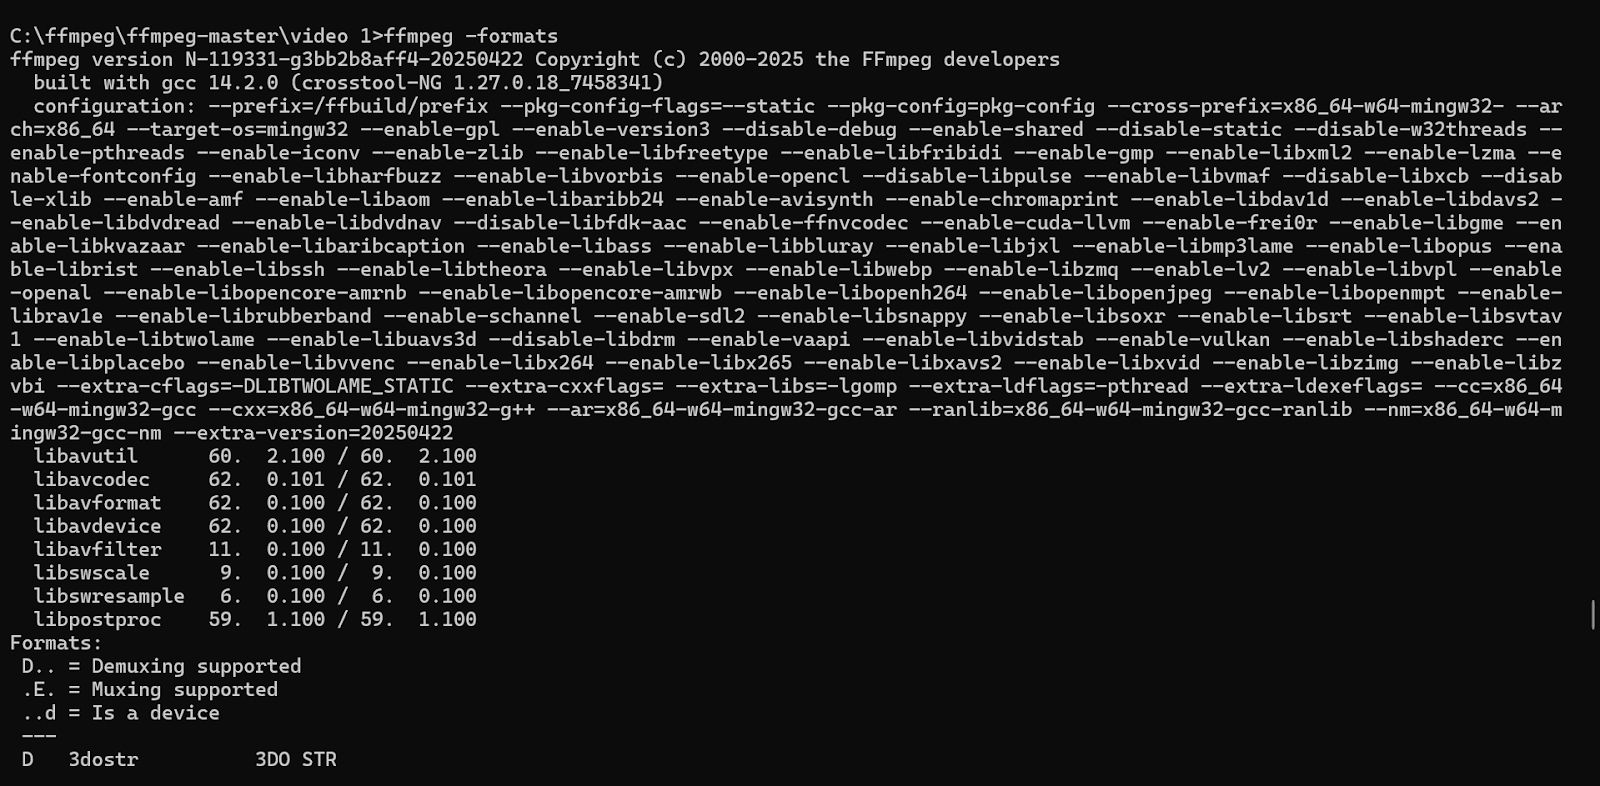
File Size Limiting
Constrain the output file size using the -fs flag to prepare videos for limited storage or upload requirements.
Limit Output File Size to 50 MB
This command limits the output file size to 50 MB. It may involve reducing the quality or bitrate of the video.
ffmpeg -i input.mp4 -fs 50M output.mp4
What’s Next?
Want to integrate FFmpeg into your production pipeline? Use Cincopa’s API to trigger FFmpeg-based transcodes on upload, manage codec presets, batch process asset libraries, and generate ABR-ready renditions. Automate format conversions, scaling, and filtering at scale while embedding FFmpeg logic directly into your backend workflows.