FFmpeg is a command-line tool for manipulating video, audio, and multimedia files. It supports format conversion, compression, streaming, frame extraction, and more. Installation varies by operating system, requiring specific steps to download binaries, configure environment variables, and verify CLI access.
Install and Set Up FFmpeg
For Windows
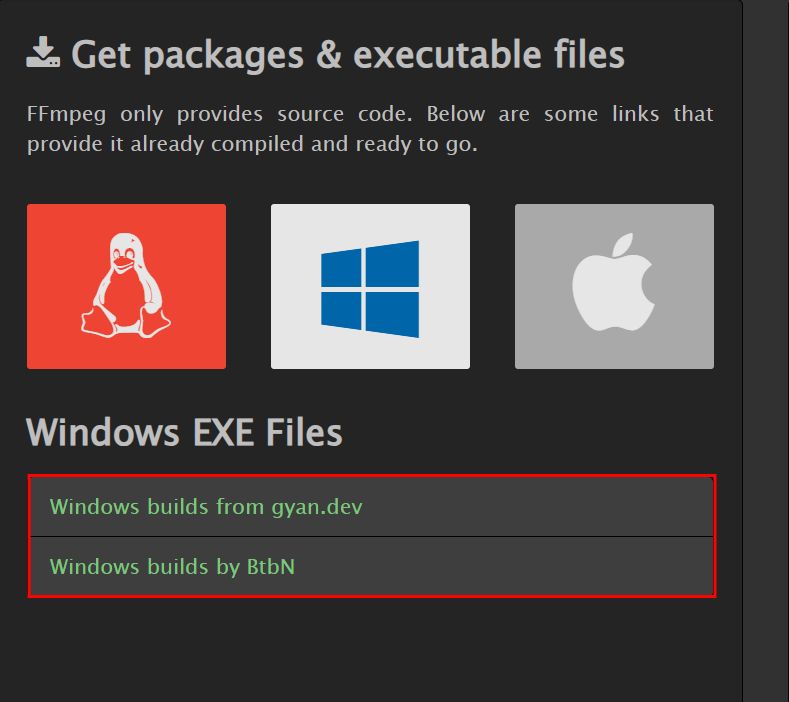
Step 1: Open a web browser and navigate to FFmpeg.org.
Step 2: Under the Windows section, you will find two categories under Windows EXE Files:
| Categories | Description |
| Windows builds from gyan.dev | These FFmpeg builds are provided by gyan.dev and are suitable for general users who need stable and regularly updated FFmpeg versions |
| Windows builds by BtbN | These builds are provided by BtbN and are targeted towards advanced users who may need custom or experimental FFmpeg configurations. |
- Windows builds from gyan.dev: These FFmpeg builds are provided by gyan.dev and are suitable for general users who need stable and regularly updated FFmpeg versions
- Windows builds by BtbN: These builds are provided by BtbN and are targeted towards advanced users who may need custom or experimental FFmpeg configurations.
Builds from gyan.dev
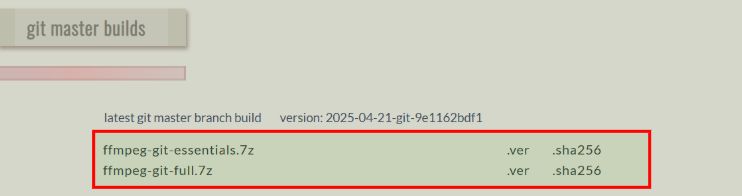
Step 1: Click on Windows builds from gyan.dev and scroll down to the Git master builds section
Step 2: You will find the latest FFmpeg Git master branch builds available for download ( ffmpeg-git-essentials.7z or ffmpeg-git-full.7z )
Step 3: You can download these files directly to your system. The version details and .sha256 checksum files are provided for verification.
Builds by BtbN
Step 1: Click on Windows builds by BtbN.
Step 2: On the GitHub page, locate the latest release and download the static build zip file for Windows.
ffmpeg-master-latest-win64-gpl-shared.zip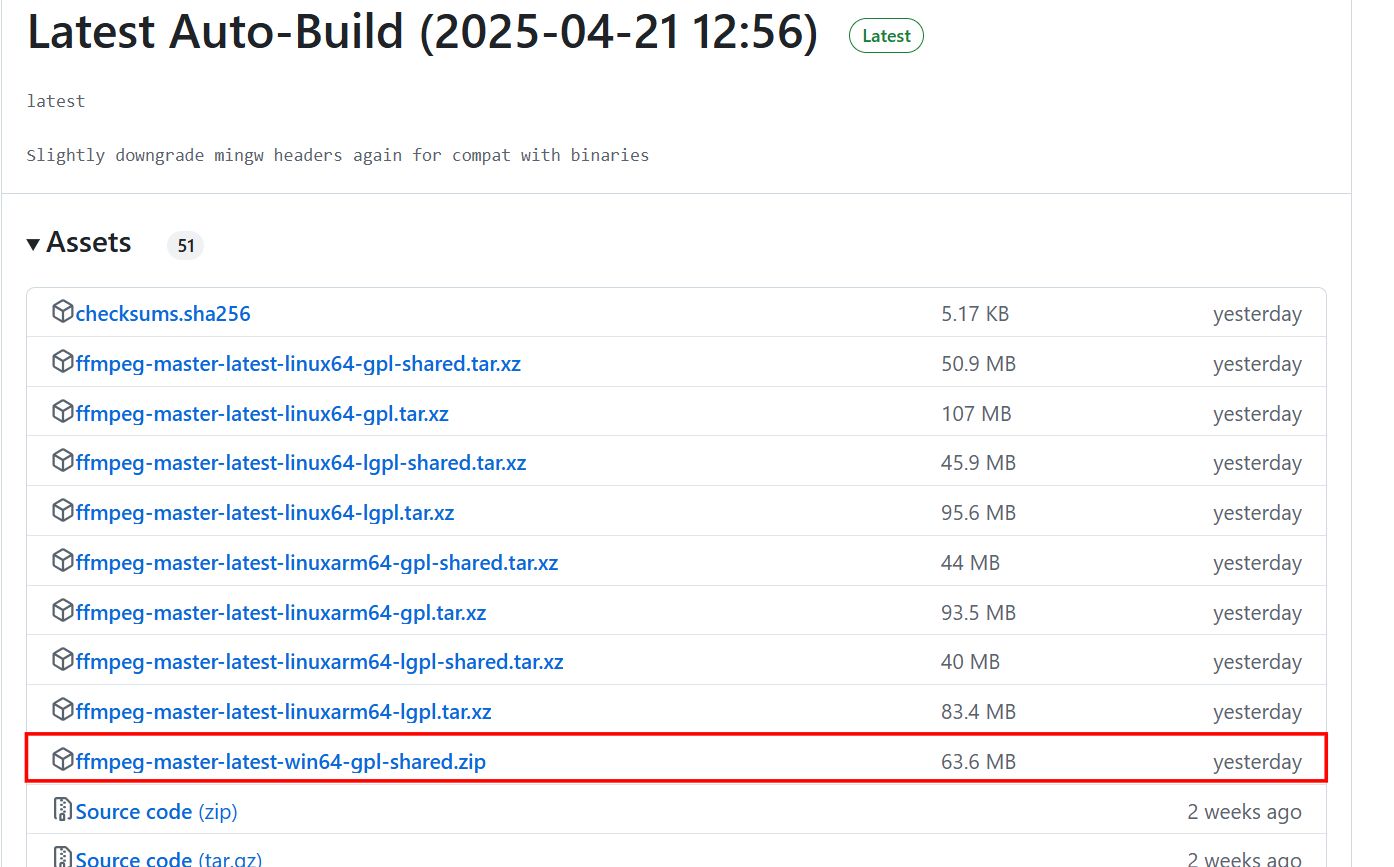
Once you have downloaded the appropriate FFmpeg build from either gyan.dev or BtbN, extract the files to a folder on your system. After extraction, configure the system by setting the path to the bin folder.
Step 3: After downloading, go to your Downloads folder, right-click the zip file, and select "Extract All → to extract it to a folder like C:\ffmpeg.
Step 4: Open the extracted folder and locate the bin directory inside (it will be something like C:\ffmpeg\ffmpeg-<version>\bin).
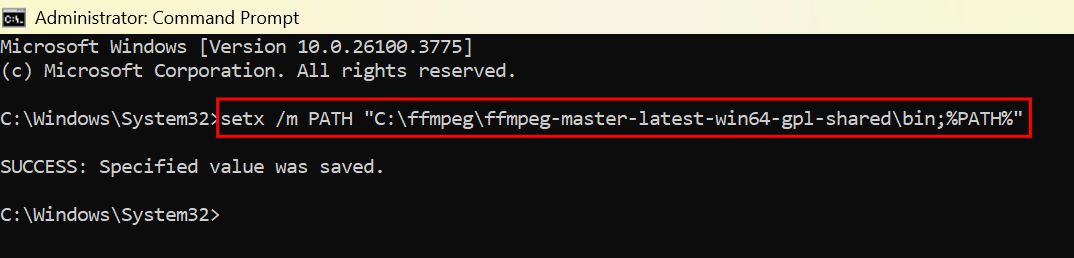
Step 5: Open CMD as an administrator, and run this command to set the path for FFmpeg:
setx /m PATH "C:\ffmpeg\ffmpeg-[version]-full_build\bin;%PATH%"Replace [version] with the appropriate FFmpeg version you downloaded (e.g., 2025-04-21-git-9e1162bdf1).
Step 6: Open CMD and run this command to confirm that FFmpeg is installed correctly.
ffmpeg -version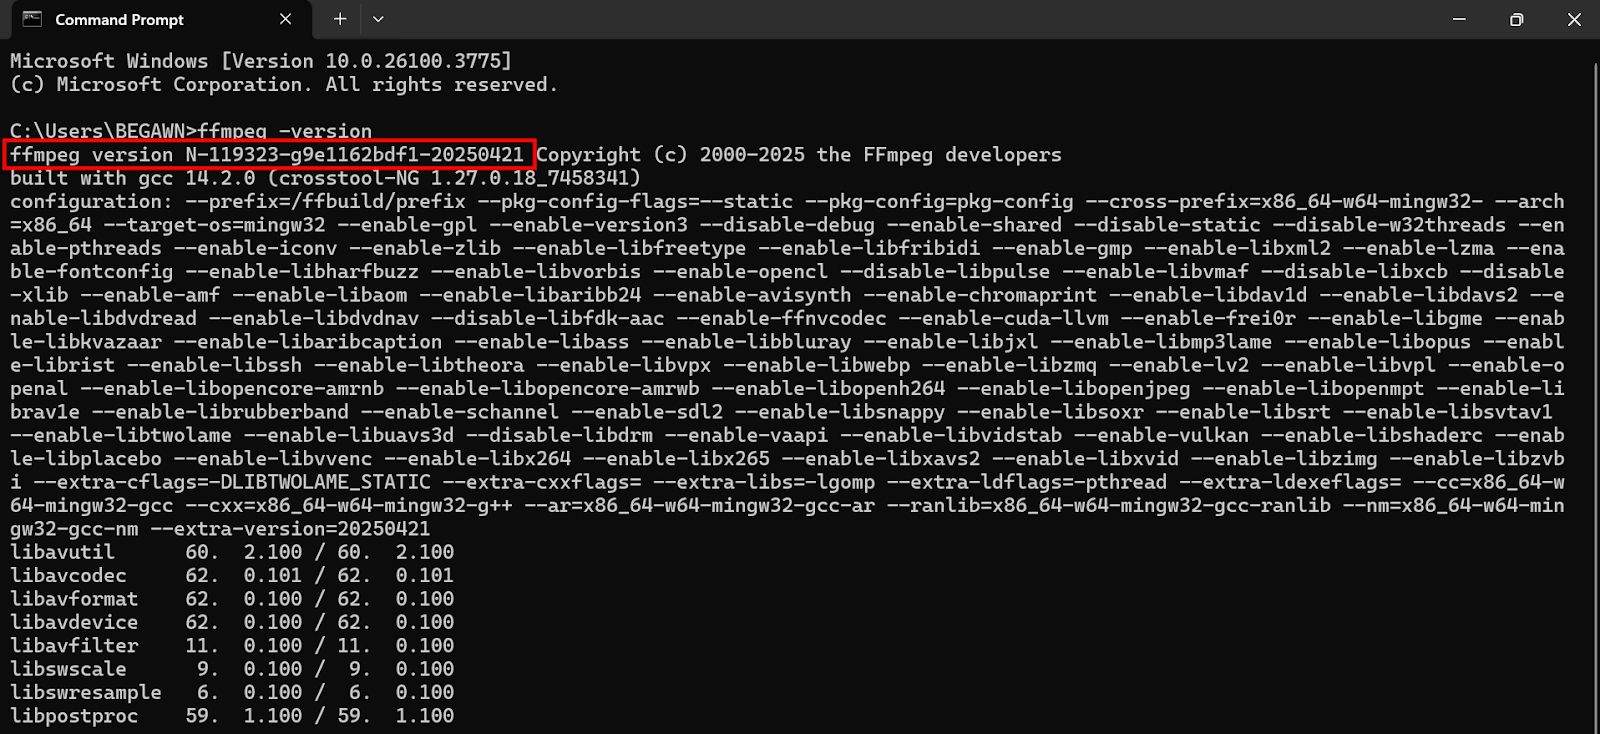
For macOS
Step 1: Open the Terminal, and run this command to see if Homebrew is already installed:
brew --versionStep 2: If Homebrew is not installed, then run this command in your terminal to install Homebrew:
/bin/bash -c "$(curl -fsSL https://raw.githubusercontent.com/Homebrew/install/HEAD/install.sh)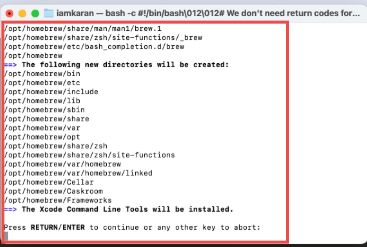
Step 3: Once Homebrew is set up, we will set up the path by running these commands
nano .zshrc
Export PATH=??? /opt/homebrew/bin:$PATH???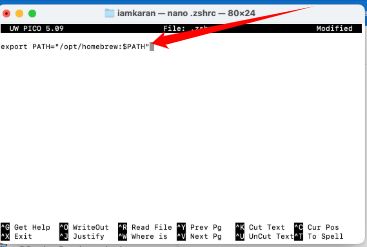
The reason we are setting up the path in the .zshrc file is that Zsh (Z shell) does not automatically recognize the brew command after installation. This happens because Homebrew is installed in a custom directory (typically /opt/homebrew/bin) which is not included in the default system PATH.
Adding this path to the .zshrc file ensures that the brew command is available in the terminal every time we open a new session. This step allows Zsh to recognize and execute the brew command properly.
Step 4: Run the following command to apply the changes made to the .zshrc file:
source .zshrcThe source command is used to reload the .zshrc file after modifying it. This ensures that the changes you made to the PATH variable (i.e., adding the Homebrew path) are immediately applied without restarting the terminal. By running this command, you make the brew command accessible in your current terminal session.
Step 5: Run this command to install FFmpeg
Brew install ffmpeg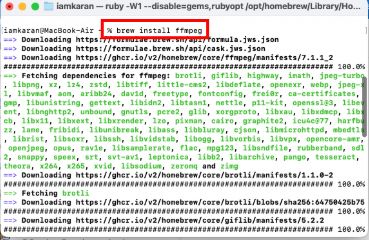
Step 6: Run this command to verify that FFmpeg is installed correctly
ffmpeg -version
For Linux (Ubuntu/Debian)
Step 1: Use Ctrl + Alt + T to open a terminal window.
Step 2: Before installing anything, update your system"s package list to ensure all repositories are current:
$ sudo apt update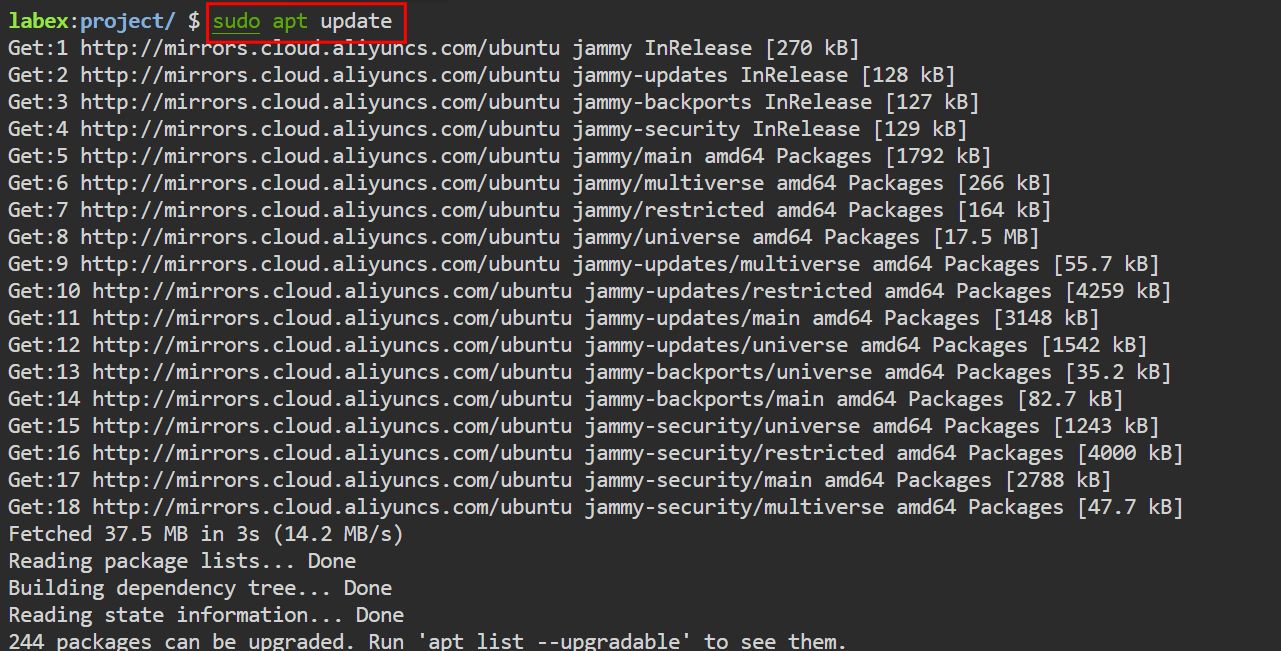
Step 3: Once your package list is updated, install FFmpeg by running as this installs FFmpeg and all required dependencies.
$ sudo apt install ffmpeg
Step 4: After the installation is complete, confirm that FFmpeg was installed correctly:
$ ffmpeg -version