Adding rich media to Moodle assignments helps transform static submissions into engaging and clear learning evidence. A lot of learners understand concepts better when they can express ideas through video, audio, or interactive elements rather than relying only on reading the text.
Apart from this, instructors gain a more accurate view of a learner’s understanding as well because rich media reveals depth that text alone cannot capture. This approach creates a more flexible learning space where learners can communicate in the format that best supports their thinking.
Prerequisites
Before adding rich media to assignments, confirm the following:
- The course is active and visible to learners.
- Editing rights are enabled for your instructor account.
- The media upload or embedding feature is allowed in your Moodle installation.
- The maximum upload size supports video files if direct uploads are used.
- External media integrations (such as Cincopa or YouTube) embedding is configured if your institution uses them.
Having these settings checked prevents upload issues or broken media links later.
Adding Rich Media to Moodle Assignments
You can add rich media to Moodle assignments to create space for clearer instructions, stronger context, and engaging learner submissions. It helps trainers to communicate complex ideas with clarity and gives learners a more intuitive way to understand what is expected before they begin their work.
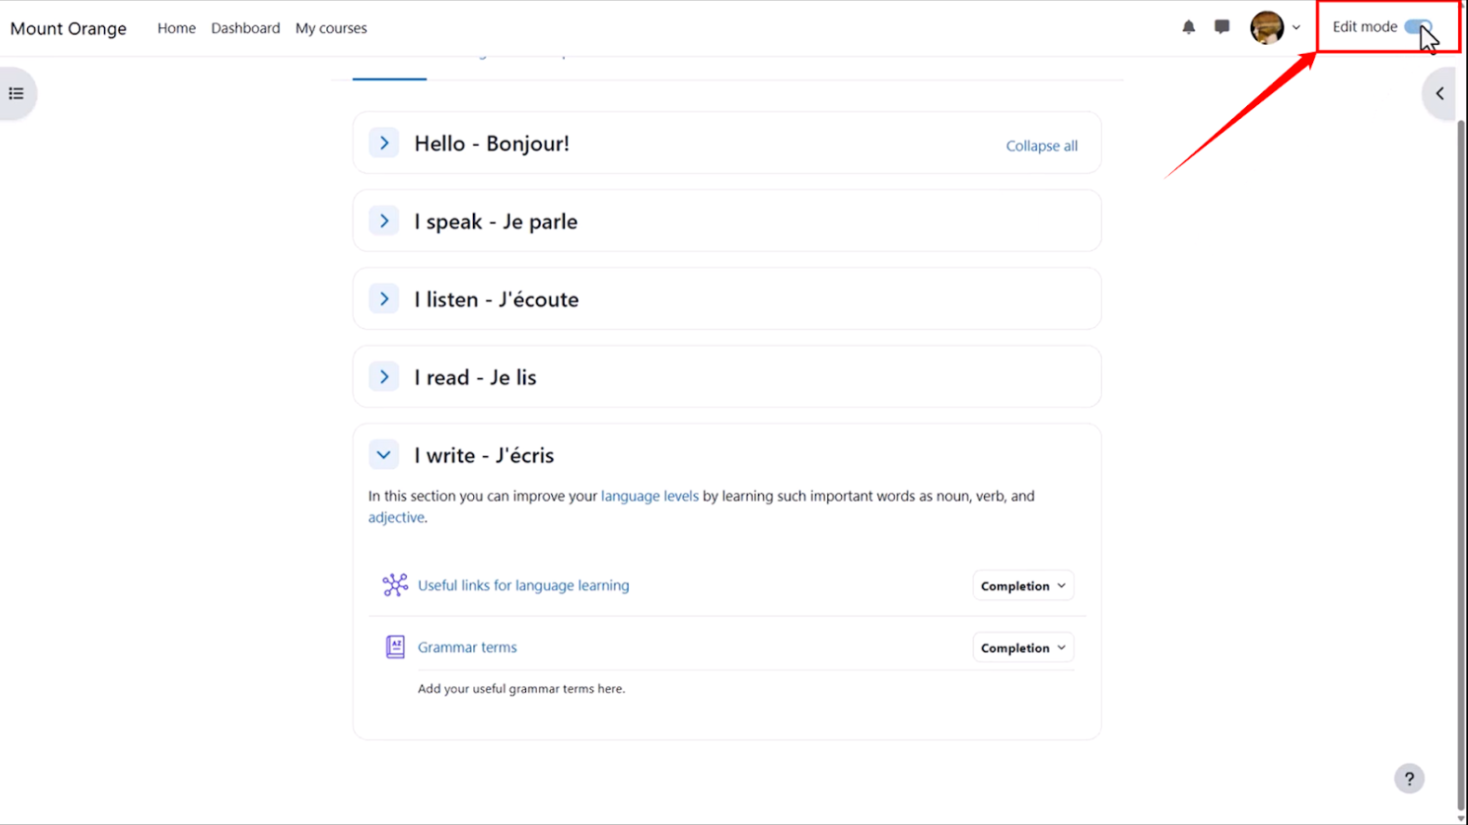
Step 1: Log in to your institution’s Moodle site and open the course where you want to add an assignment. Then click the “Edit mode” toggle at the top right of the page to enable editing.
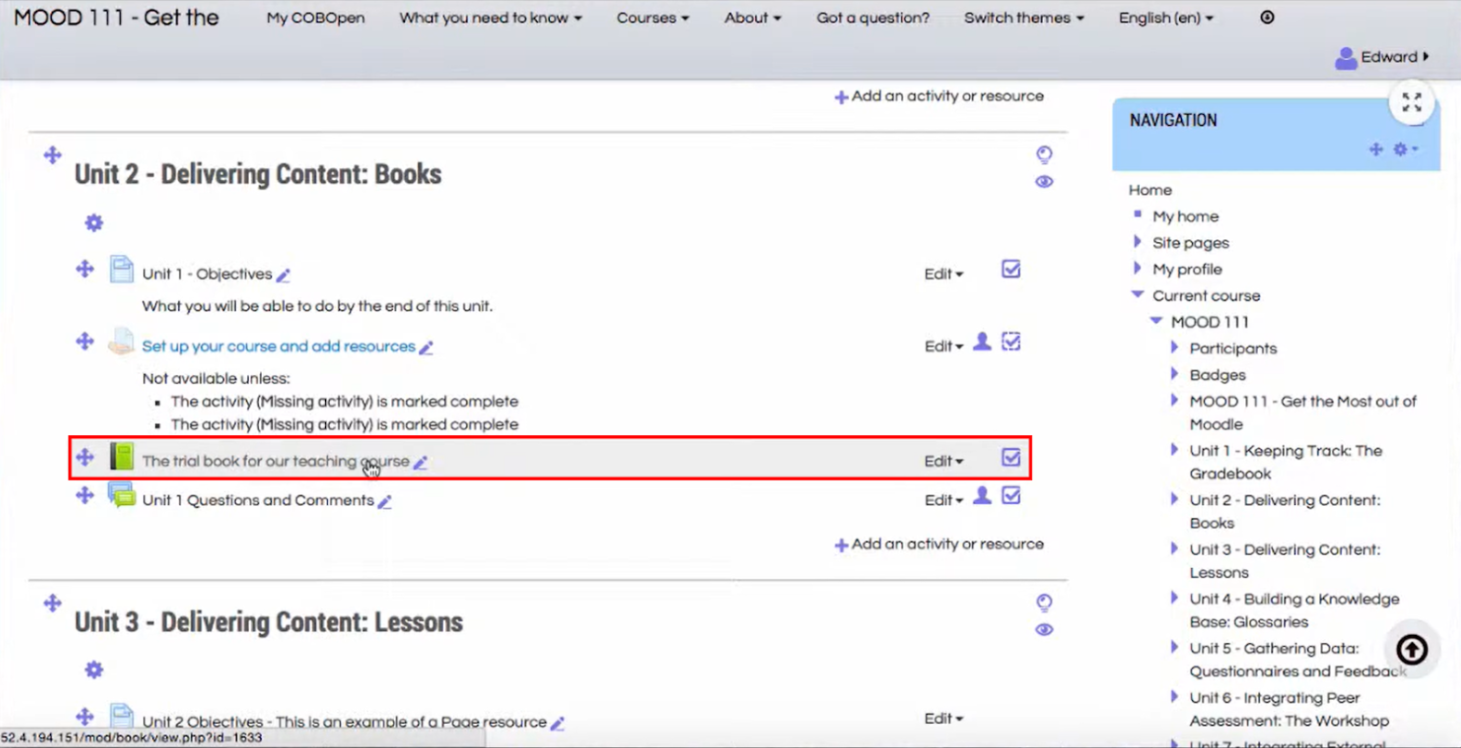
Step 2: Find the assignment where you want to add media, then click on the “✏️” icon at the end of the chapter in which you want to add media.
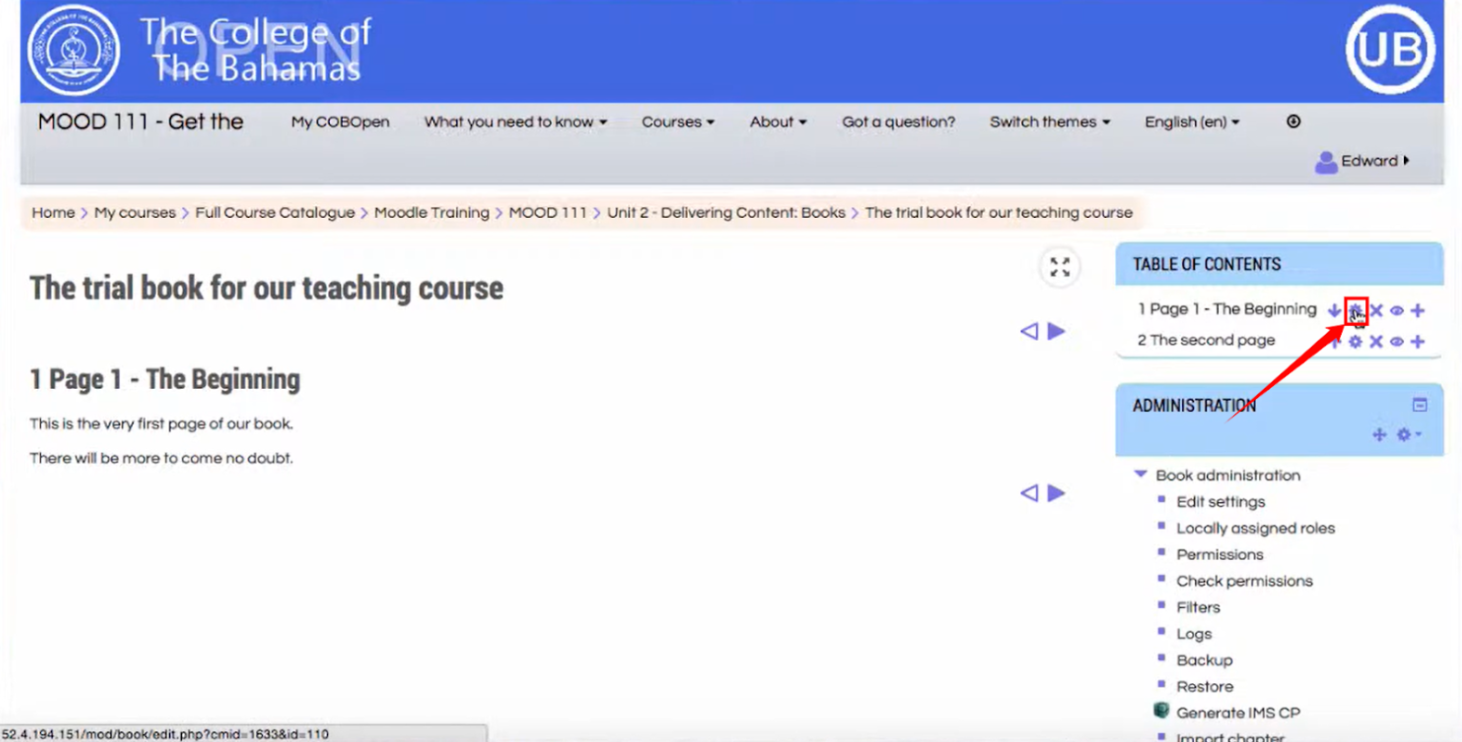
Step 3: The chapter’s description screen will open. Click on the “⚙️” icon under “Table of Contents” in the right-side bar.
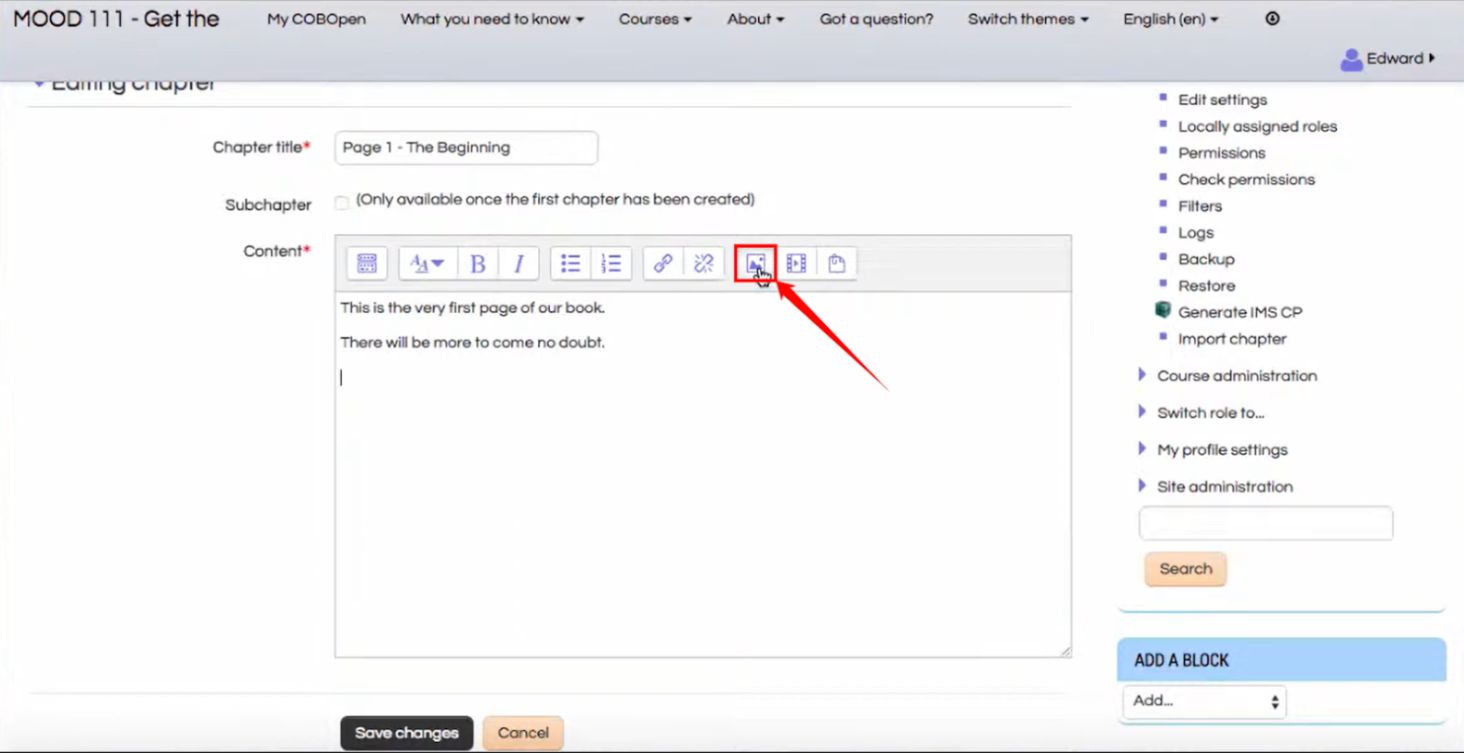
Step 5: The in-built chapter editor will open. Click on the image insertion logo in the editor bar.
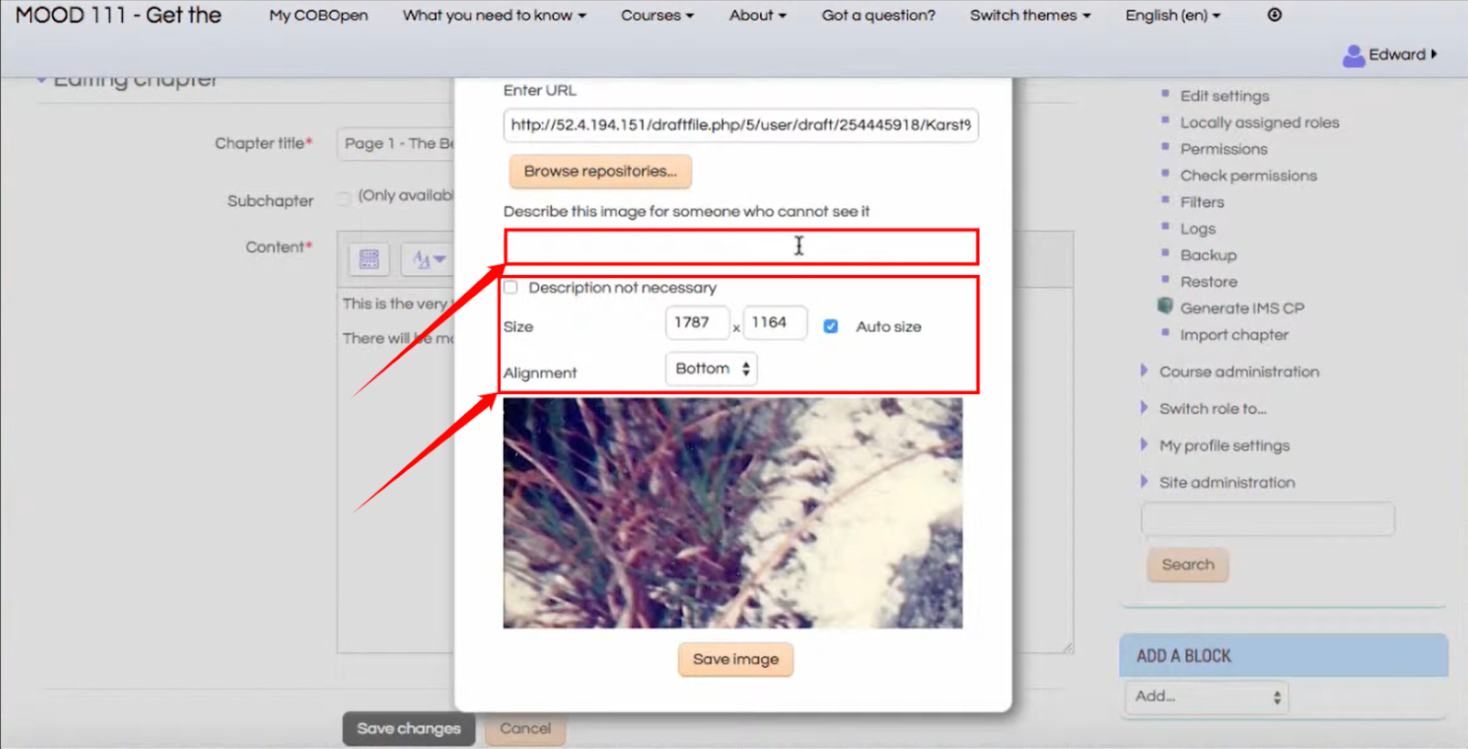
Step 6: An “Image Properties” modal will open. Click on the “Browse repositories” button to locate the media file you want to add.

Step 7: Describe your media in the description box and set the media’s size & alignment.
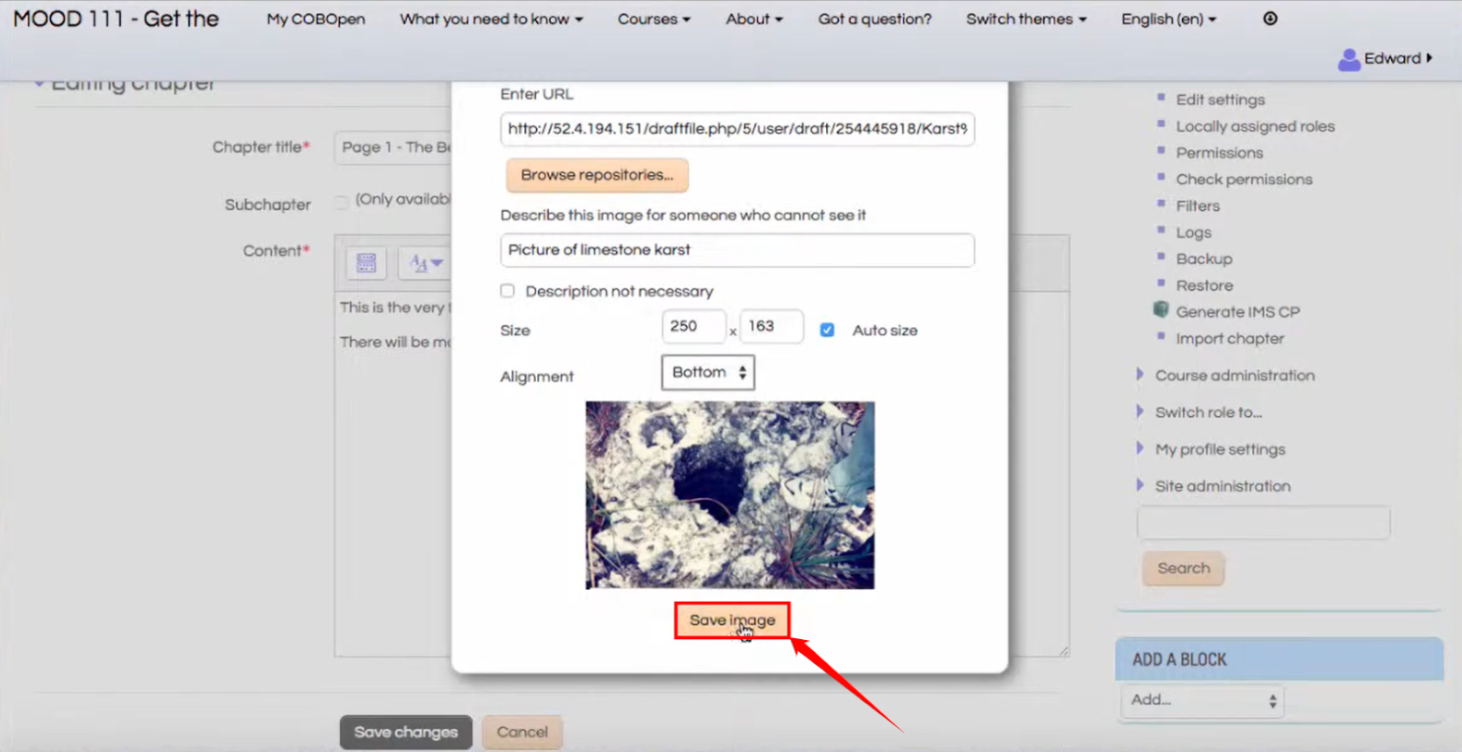
Step 8: After making necessary changes, click on the “Save Image” button at the bottom of the modal.
Step 9: Once the media is inserted, click on the “Save Changes” button at the bottom of the screen.
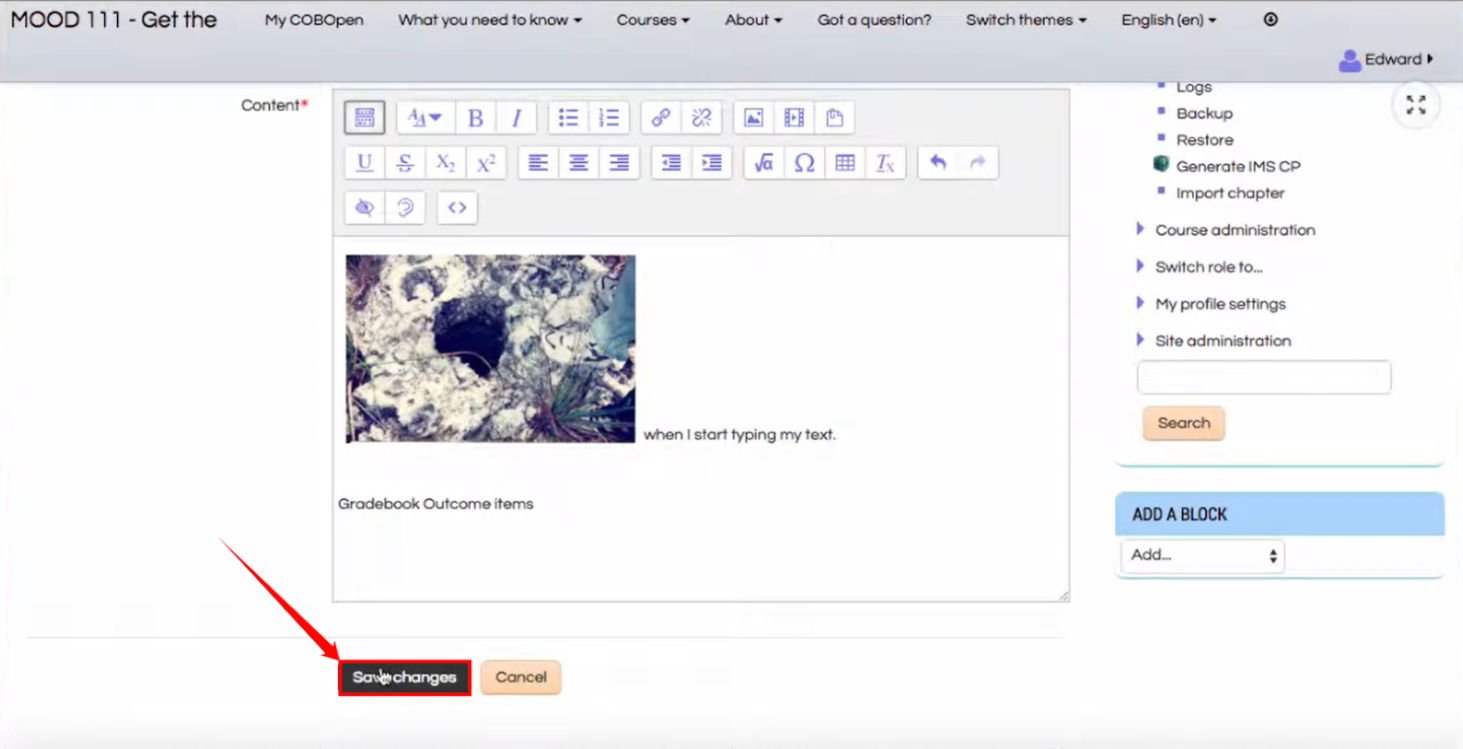
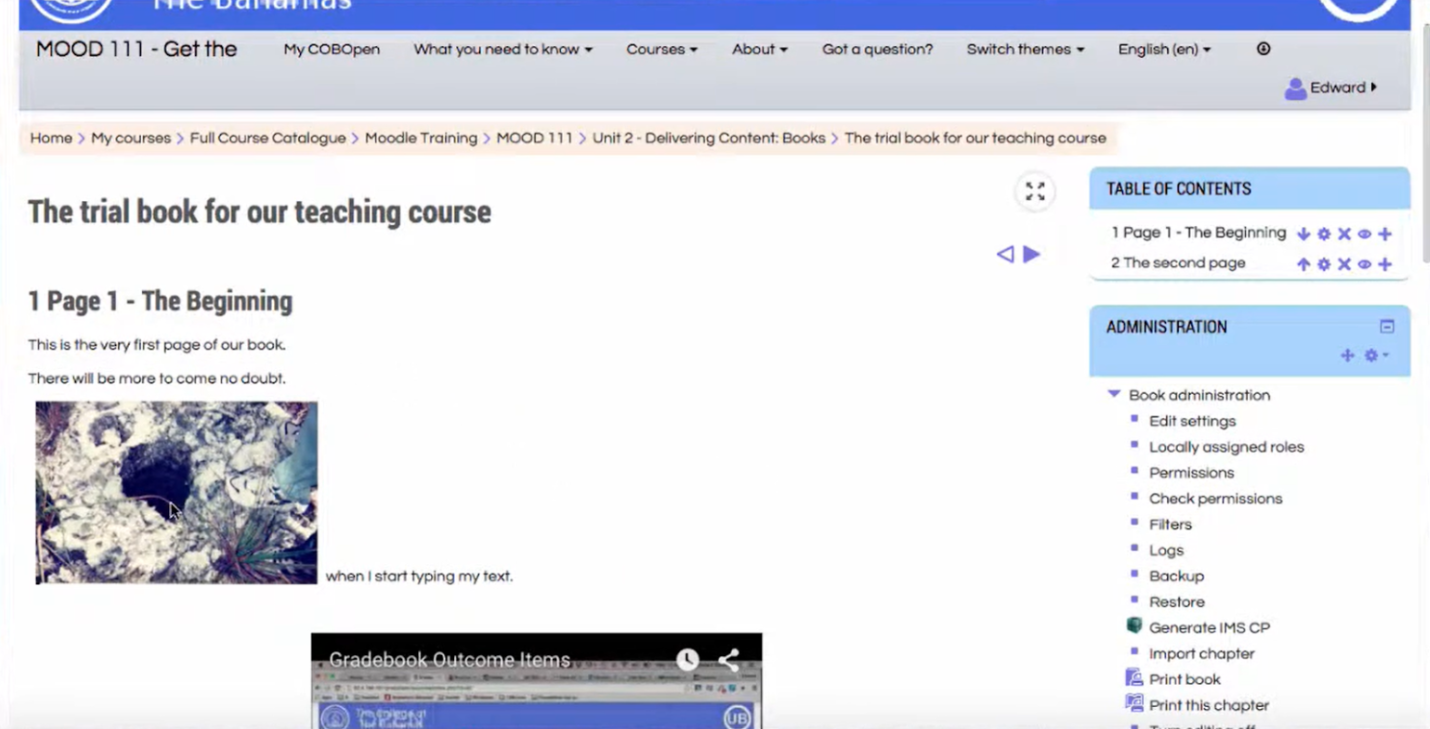
Note: After clicking on the “Save Changes” button, this is how it will appear.