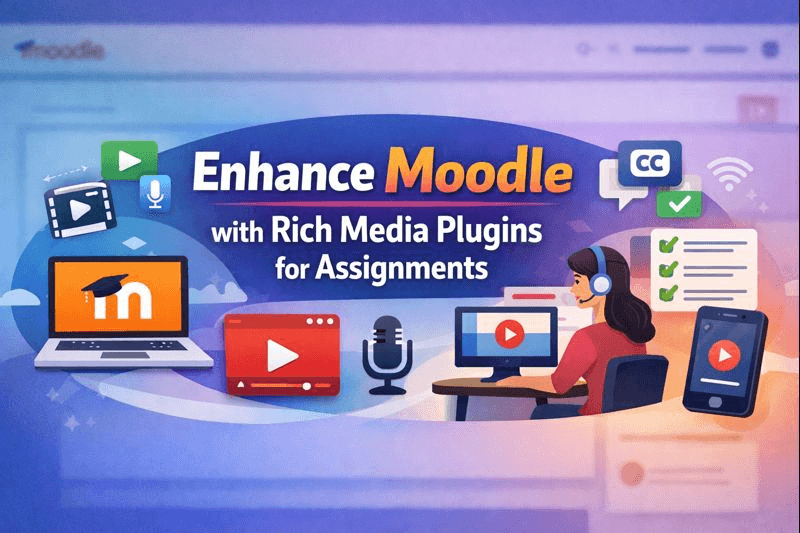
Enhancing Moodle with rich media plugins helps turn static assignments into more engaging, interactive learning tasks. Many courses rely heavily on text-based submissions, which often limit how learners express ideas or demonstrate skills.
By adding audio, video, and other media options, assignments become clearer, more flexible, and closer to real-world communication needs. This shift not only supports different learning styles but also helps instructors capture deeper insights into learner understanding.
Prerequisites
These are the key items you need in place before starting, as they ensure your setup is secure and ready for video features without running into basic problems that could disrupt the process.
- Site administrator access for setup tasks.
- A test assignment in a sandbox course to try changes safely.
- Moodle version 4.x, with HTTPS enabled to avoid playback issues.
- Correct server upload limits in PHP:
upload_max_filesize = 200M post_max_size = 200M max_execution_time = 300 - A backup of your site.
- Testing on a mobile device, as learners often submit from phones.
Choose the Right Video Approach for Assignments
For assignments, select plugins that handle video submissions or embeds effectively. Core players like VideoJS work well for MP4 files that learners upload directly. YouTube or Vimeo players suit links to external videos in prompts or submissions. Enterprise plugins, such as Kaltura or Panopto, excel when you need video libraries, recording tools, or analytics for large classes. Start with core players for simple uploads, use YouTube/Vimeo for easy links, and opt for enterprise options if your school already uses them for scalable video management.
Install a Media Plugin
Installing a media plugin adds the tools needed for videos in assignments. Without it, Moodle can't handle or display media properly, keeping assignments limited to text only.
From the Moodle Plugins Directory (Web UI)
Step 1: Go to Site Administration → Plugins → Install Plugins.
Step 2: Select the “Install Plugins from Moodle Plugins Directory” option and sign in to moodle.org.
Step 3: Search for the media plugin you want (e.g., VideoJS contrib, YouTube player).
Step 4: Check version compatibility, then click on the “Install” button.
Step 5: Complete pre-checks and click on the “Continue” button to run the upgrade.
Upload a ZIP (Web UI)
Step 1: Download the plugin ZIP from the Moodle Plugins Directory.
Step 2: Go to Site Administration → Plugins → Install Plugins.
Step 3: Drag and drop the ZIP file or choose it via the file picker.
Step 4: Confirm the plugin type and installation path.
Step 5: Click on the “Continue” button to run the upgrade.
Manual Install (Server)
Step 1: For direct server deployments:
/moodle/lib/editor/<pluginname>/moodle/filter/<pluginname>/moodle/local/<pluginname>Step 2: Visit “https://yourmoodlesite.com/admin” to trigger the plugin upgrade. Then follow the on-screen instructions.
Verify Installation
Step 1: Go to Site Administration → Plugins → Plugins Overview to check that the plugin is enabled.
Step 2: Purge caches via Site Administration → Development → Purge Caches.
Enable and Configure Media Handling
Enabling and configuring media handling activates the features that allow videos to work in assignments, because default settings often block or ignore media, preventing smooth integration and playback.
Enable Media Embedding
Step 1: Go to Site Administration → Plugins → Filters → Manage Filters.
Step 2: Turn Media Embedding (or Multimedia Plugins in older versions) On.
Manage Media Players
Step 1: Navigate to Site Administration → Plugins → Media Players.
Step 2: Enable the players you want (VideoJS, YouTube, Vimeo).
Step 3: Drag and reorder the list—place your preferred player at the top.
Player Settings
Adjust default video width.
- Use responsive values, e.g.
width: 100%; - Subtitle/caption support (.vtt files)
- Allowed Domains: Useful for embedded external videos:
["youtube.com", "youtu.be", "vimeo.com"]
Add Videos to Assignments
Adding videos to assignments brings in visual examples or submission options. This makes prompts more illustrative and allows learners to show work in ways text alone can't. Hence, this will lead to richer learning experiences.
Embed a Video in the Assignment Prompt
Step 1: Create or edit an assignment.
Step 2: In the description box, paste a full YouTube or Vimeo URL on a blank line.
Step 3: Save to auto-embed the video.
Example Prompt Embed:
https://www.youtube.com/watch?v=example123Allow Video File Submissions
Step 1: Open Assignment settings → Submission types.
Step 2: Enable File Submissions.
Step 3: Add allowed video formats, such as:
video/mp4video/webmStep 4: Enable Online text if students will paste video links or embed using the media button.
Provide Video Examples via URL Resource
Step 1: Add a URL activity.
Step 2: Paste the public YouTube/Vimeo link.
https://vimeo.com/example123Step 3: Save so learners can view it while working on the assignment.
Use Enterprise Video Plugins (Optional)
Step 1: If using Kaltura or Panopto, open the assignment editor.
Step 2: Click the plugin’s embed button (e.g., “Embed from Kaltura”).
Step 3: Select your video and insert it into the prompt.
Handle Video Submissions & Feedback
Handling video submissions and feedback focuses on reviewing and responding to media-based work. This ensures grading is thorough and learners get clear, relevant input that matches their video efforts.
Review Submitted Videos
Step 1: Open the assignment’s grading screen.
Step 2: Click a learner’s submission to play uploaded or linked videos.
Step 3: Use the player controls to inspect quality, captions, and navigation.
Provide Video-Based Feedback
Step 1: In the grading window, upload a feedback video under Feedback files.
Step 2: Paste a link if your feedback video is hosted externally.
Step 3: Add a .vtt caption file if available.
Ensure Accessibility
Step 1: Upload captions for both student submissions and feedback videos (if supported).
Step 2: Provide text transcripts below the video or as downloadable files.
Step 3: Test keyboard navigation and player compatibility for learners with accessibility needs.
File Types, Sizes, and Performance
Stick to MP4 with H.264 for wide compatibility in assignments. Limit files to a few hundred MB to fit upload limits. For busy courses, use streaming links from YouTube or Vimeo instead of hosting large files. Adjust upload sizes in Site Administration > Security > Site Policies and Course Settings to match server PHP limits like upload_max_filesize and post_max_size. Serve everything over HTTPS to prevent errors.
Troubleshooting Quick Wins
Troubleshooting quick wins addresses common video issues in assignments, as problems like failed embeds or playback errors can stop progress, and fixing them fast keeps the focus on teaching rather than technical hurdles.
Video Doesn’t Embed in Prompt: Confirm the Media embedding filter is On, and the player is enabled. Ensure the URL is a complete, public link or supported file.
Submission Video Won't Play: Try a different browser, check HTTPS, and verify file permissions and MIME types on the server.
No Changes After Setup: Purge caches in Site administration > Development > Purge caches and refresh.
External Video Blocked: Add YouTube and Vimeo domains to the allowed embed sources in security settings.
Update or Remove a Plugin
Updating or removing a plugin keeps your media tools current or cleans up unused ones, because outdated plugins can cause compatibility issues or security risks, while unnecessary ones clutter the system and slow down performance.
Update a Plugin
Step 1: Go to Site Administration → Plugins → Plugins Overview.
Step 2: Click on the “Check for Available Updates” button.
Step 3: Confirm version compatibility and apply the update.
Step 4: Purge caches to apply changes.
Remove a Plugin
Step 1: Open Site Administration → Plugins → Plugins Overview.
Step 2: Select the plugin and click on the “Uninstall” button.
Step 3: Remove the plugin folder from the server if prompted.
Step 4: Edit any assignments that used this plugin—update or replace embedded content.
Final Check
The final check confirms everything is set up correctly for videos in assignments, as this step catches any overlooked details that might prevent uninterrupted operation. As a result, this ensures the enhancements work as intended from the start.
- A test video plays in an assignment prompt and submission on desktop and mobile.
- Captions work; transcripts are accessible.
- Media embedding filter is turned on; players are enabled and ordered.
- Upload limits suit video sizes.
- Caches cleared; pages load over HTTPS.