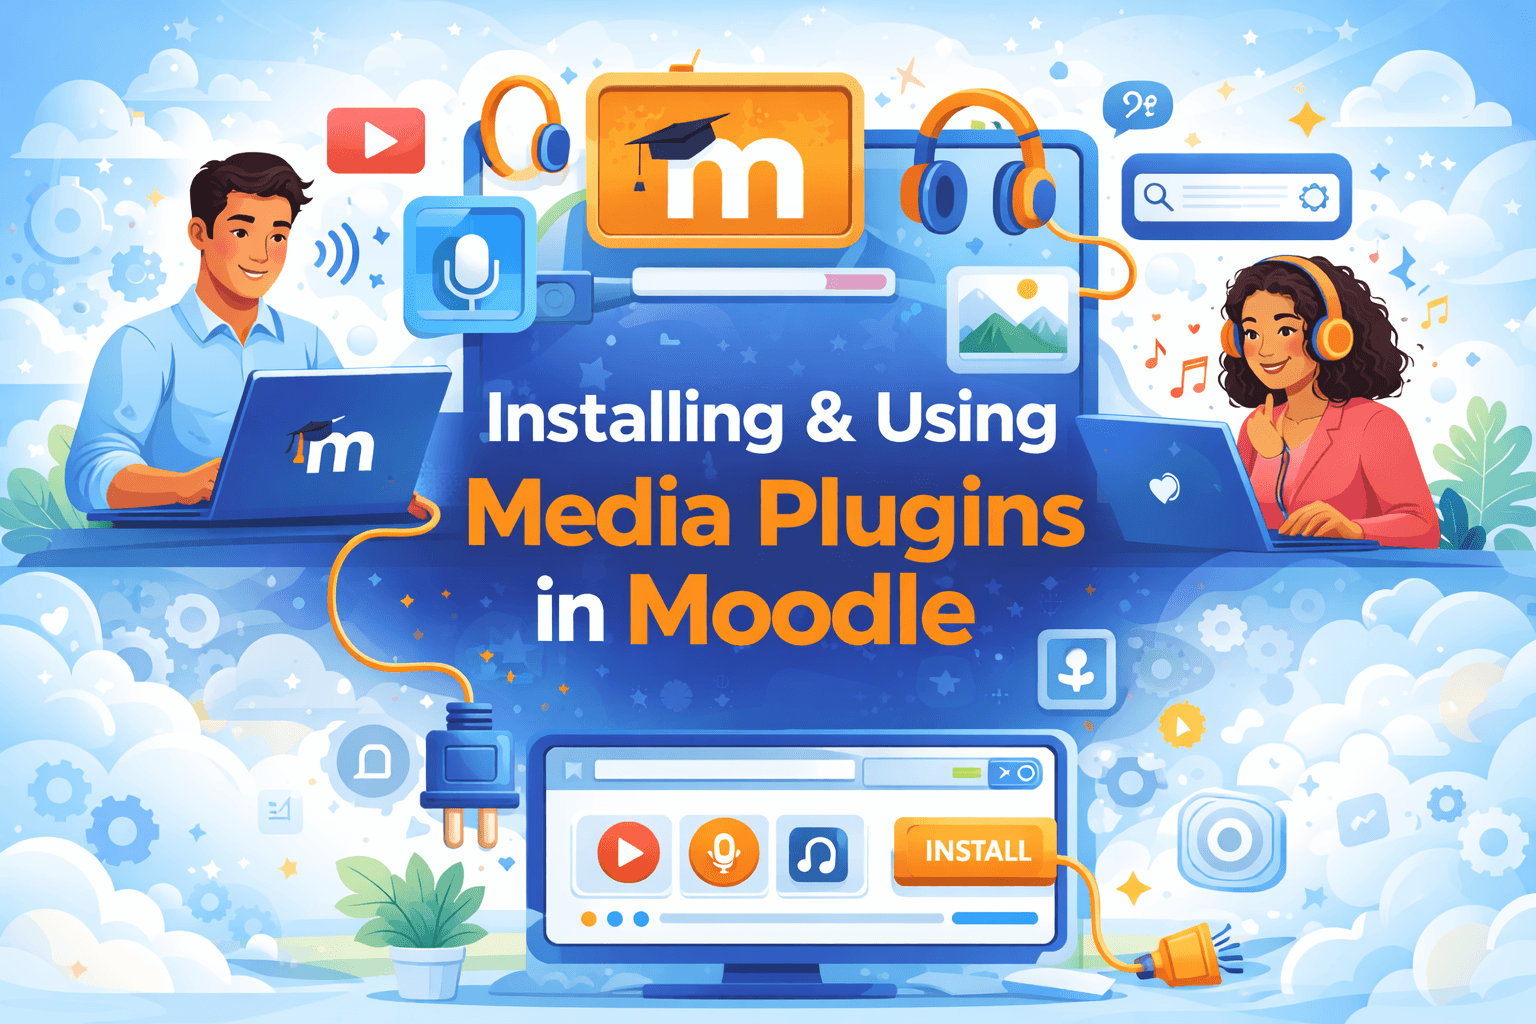
Adding media plugins in Moodle helps bring lessons to life by allowing videos, audio, and interactive elements to work smoothly inside courses. Many teachers rely on these plugins to make learning clearer and more engaging, but Moodle doesn’t always enable every media format by default.
Understanding how these plugins fit into Moodle’s system helps avoid playback issues and keeps course content consistent for all learners. A clear setup ensures that media loads correctly, improves accessibility, and supports a better learning experience across different devices.
Prerequisites
- Site administrator access to install and configure plugins.
- A test course set up to experiment without impacting live classes.
- Moodle version 4.x confirmed for compatibility.
- HTTPS is enabled on the site to ensure secure video loading.
- Sufficient storage space checked for video files.
- Server upload limits reviewed in PHP settings, including post_max_size and upload_max_filesize.
- Moodle's max upload size is verified in the site policies.
- A site backup is created as a safety measure.
- Plan to test videos on mobile devices to identify issues early.
Choose the Right Video Approach
For videos to play well, pick a method that fits your setup. Core players like VideoJS or HTML5 audio/video work best for MP4 or WebM files you host directly on your Moodle server. YouTube or Vimeo players shine when you paste links from those sites, letting their servers handle the streaming. Enterprise video plugins, such as Kaltura or Panopto, suit large video libraries with analytics and scalable streaming. Start with core players for simple hosted MP4s, switch to YouTube or Vimeo for easy links, and use enterprise plugins if your institution already has them in place.
Install a Media Plugin
You can install plugins safely in three ways. Pick the one that suits your access level.
From the Moodle Plugins Directory (Web UI)
Go to Site administration > Plugins > Install plugins. Select "Install plugins from Moodle plugins directory" and sign in to moodle.org. Search for the media plugin, like VideoJS contrib or a YouTube player, check its compatibility with your Moodle version, and click Install. Follow the on-screen checks, then click Continue to run the upgrade.
Upload a ZIP (web UI)
Download the plugin ZIP from the Moodle plugins directory. Go to Site administration > Plugins > Install plugins. Drag and drop the ZIP file or use the file picker. Confirm the plugin type and path, then click Continue to run the upgrade.
Manual Install (server)
Unzip the plugin into the correct folder—media player plugins often go under /moodle/lib/editor, /moodle/filter, or as /moodle/local/<pluginname>; check the plugin's readme for the exact path. Visit your site's /admin page to trigger the upgrade and follow the steps.
After any install, head to Site administration > Plugins > Plugins overview to confirm the plugin is listed and enabled. Then, purge caches by going to Site administration > Development > Purge caches.
Enable and Configure Media Handling
With the plugin installed, set up Moodle to handle videos properly.
Turn on Media Embedding
Go to Site administration > Plugins > Filters > Manage filters. Ensure "Media embedding" (or "Multimedia plugins" on older versions) is set to On or On (default). This lets Moodle detect and embed videos from links or uploads.
Manage Media Players
Visit Site administration > Plugins > Media players. Enable the players you need, such as VideoJS for MP4/WebM files, YouTube, or Vimeo. Order them by dragging—put your most-used player higher so Moodle picks it first for matching content.
Player Settings
Keep settings practical for smooth playback. Set a default video size that scales responsively on phones, like 100% width. Enable subtitles and captions support, planning to upload .vtt files later. If needed, add allowed sources like youtube.com and vimeo.com to prevent blocks.
Add a Video to a Course
As a teacher, you can now add videos to course pages.
Paste a Link (YouTube/Vimeo)
Open a course page and turn editing on. Edit a Label or Page resource. Paste a full YouTube or Vimeo URL on its own line. Save the changes—Moodle will auto-embed the video using the matching player.
Upload and Embed Your Own MP4
In the text editor, click Insert media. Upload an MP4 file, set a title, and save. Use a resolution like 720p to balance quality and file size without overwhelming storage.
Use a URL Activity
Add an activity or resource > URL. Paste the video link—whether from YouTube/Vimeo or a direct MP4 URL—and save. This creates a clickable link that opens the video in a new tab or embeds it.
With an Enterprise Plugin
Look for a new button in the editor, like "Embed from Kaltura" or "Panopto." Click it, choose a video from your library, and insert it. The plugin manages the player and streaming.
Captions, Transcripts, and Playback Controls
Make videos accessible and user-friendly.
Captions
In the editor's media dialog, add a .vtt caption track if you have one. Save and check that the CC button appears in the player, letting viewers toggle captions on and off.
Transcripts
Add a text transcript below the video or as a downloadable file. This helps learners who prefer reading or need it for accessibility.
Accessibility
Test that keyboard controls work in the player for play, pause, and volume. Use clear video titles and alt text for any links or thumbnails to describe the content.
File Types, Sizes, and Performance
Choose formats that play everywhere. Stick to MP4 with H.264 encoding for broad compatibility, and keep files under a few hundred MB to avoid upload timeouts. For large or busy courses, use streaming from YouTube, Vimeo, or an enterprise platform instead of hosting files yourself.
Set upload limits in Site administration > Security > Site policies for the maximum uploaded file size, and adjust course settings for course-specific limits. Match these to your server PHP limits, like upload_max_filesize and post_max_size. Always serve videos over HTTPS to prevent blocks and mixed content warnings.
Troubleshooting Quick Wins
If videos don't behave, try these fixes.
Video Does Not Embed: Check that the Media embedding filter is On and the right player is enabled. Ensure the URL is a full, public YouTube or Vimeo link, or a supported file type like MP4.
Player Shows But Video Will Not Play: Try a different browser, confirm the site is HTTPS, and check server file permissions and MIME types.
Nothing Changes After Install: Purge caches in Site administration > Development > Purge caches, then reload the page.
External Video Blocked: Review security settings for allowed iframe or embed domains—make sure YouTube and Vimeo domains are permitted.
Update or Remove a Plugin
Keep plugins current or clean them up as needed.
Update
Go to Site administration > Plugins > Plugins overview and click Check for available updates. Review compatibility, update the plugin, then purge caches.
Remove
From the Plugins overview, uninstall the plugin and follow the prompts. Delete its folder from the server if instructed. Check any course activities that used the plugin and replace embeds manually.
Final Check
Run through this list to confirm everything works:
- A test video plays on desktop and mobile.
- Captions toggle on and off; a transcript is available.
- Media embedding filter is On; required players are enabled and ordered correctly.
- Upload limits match your video sizes.
- Caches are purged; pages load over HTTPS.