Two-pass encoding is a controlled bitrate strategy that allows VP9 to balance compression efficiency and visual consistency across different segments of a video. It is particularly important for on-demand encoding, where encoding speed can be traded for higher efficiency and stable output size.
Understanding Two-Pass Encoding
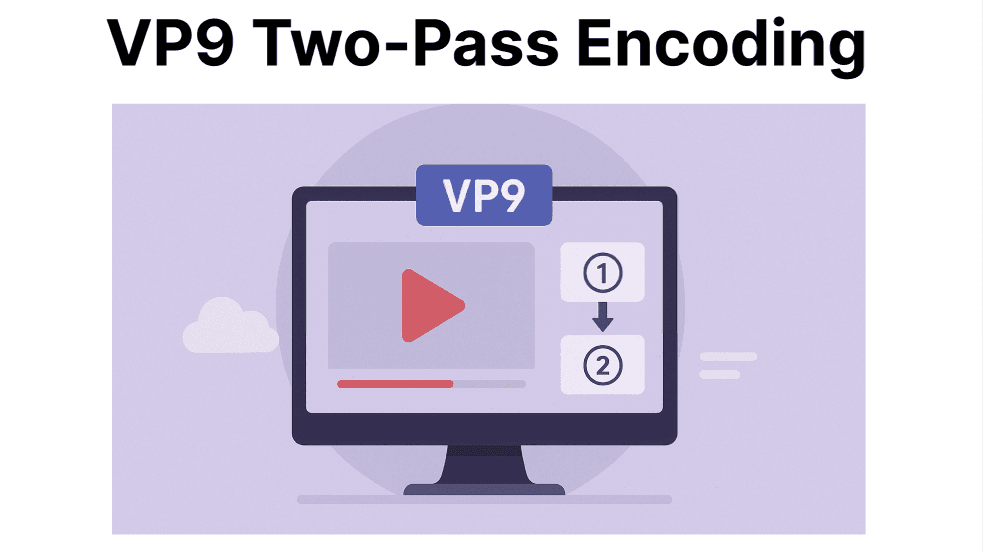
VP9’s two-pass process separates encoding into two stages:
- First Pass (Analysis): The encoder analyzes the entire video to collect motion vectors, scene complexity, and bit distribution statistics.
- Second Pass (Encoding): The encoder uses that data to allocate bitrate more accurately, giving more bits to complex scenes and fewer to static areas.
Unlike single-pass encoding, where bitrate allocation is based only on real-time frame analysis, two-pass encoding produces predictable file sizes and consistent perceptual quality across the entire sequence.

When to Use VP9 Two-Pass Encoding
Two-pass encoding is used when you need precise control over file size or bitrate and can afford longer processing times. It is best suited for:
- VOD Workflows: Encoding pre-recorded videos for streaming platforms, where consistency between renditions is essential.
- Adaptive Bitrate Packaging: Preparing multiple VP9 renditions (e.g., 1080p, 720p, 480p) that must align perfectly for DASH or HLS manifests.
- Bandwidth-constrained Delivery: When each output must stay under a strict bitrate cap (e.g., 2500 kbps for 1080p).
- Archival or High-Quality Exports: Ensuring optimal quality retention at fixed storage limits.
Two-pass is not ideal for live streaming or latency-sensitive pipelines, as the process requires two full encoding passes over the input.
How Two-Pass VP9 Encoding Works
During the first pass, the encoder writes a statistics log file instead of generating output. This file stores frame complexity metrics such as motion intensity and quantizer decisions.
During the second pass, the encoder reads the log file and encodes using that data, applying bitrate distribution according to target settings.
This allows VP9 to allocate bits efficiently — high-motion frames get more bitrate, while static segments use less — without exceeding the total bitrate budget.
Example: Two-Pass VP9 Encoding with FFmpeg
First Pass (Analysis)
ffmpeg -i input.mp4 \
-c:v libvpx-vp9 -b:v 2500k -pass 1 -an -f null /dev/null
This pass scans the entire video and generates ffmpeg2pass-0.log, which contains bitrate and complexity data.
Second Pass (Encoding)
ffmpeg -i input.mp4 \
-c:v libvpx-vp9 -b:v 2500k -pass 2 -pix_fmt yuv420p -auto-alt-ref 1 -lag-in-frames 25 output_vp9.webm
This pass reads the statistics file and encodes the video using optimal bit allocation.
Explanation:
- -b:v 2500k: Specifies target bitrate.
- -auto-alt-ref 1: Enables alternate reference frames for better temporal compression.
- -lag-in-frames 25: Allows lookahead across frames for improved rate control.
- -pass 2: Uses analysis data from the first pass to guide compression.
Performance Considerations
Two-pass encoding requires twice the processing time, but it produces more predictable results. Encoding time scales linearly with content duration and scene complexity.
For long-form or high-resolution content, parallelization through tile-based encoding (-tile-columns) and row-multithreading (-row-mt 1) can reduce total processing time.
For Example:
ffmpeg -i input.mp4 \
-c:v libvpx-vp9 -b:v 2000k -row-mt 1 -tile-columns 4 -pass 2 output_vp9.webm
This distributes encoding work across multiple CPU cores to speed up the second pass without reducing accuracy.