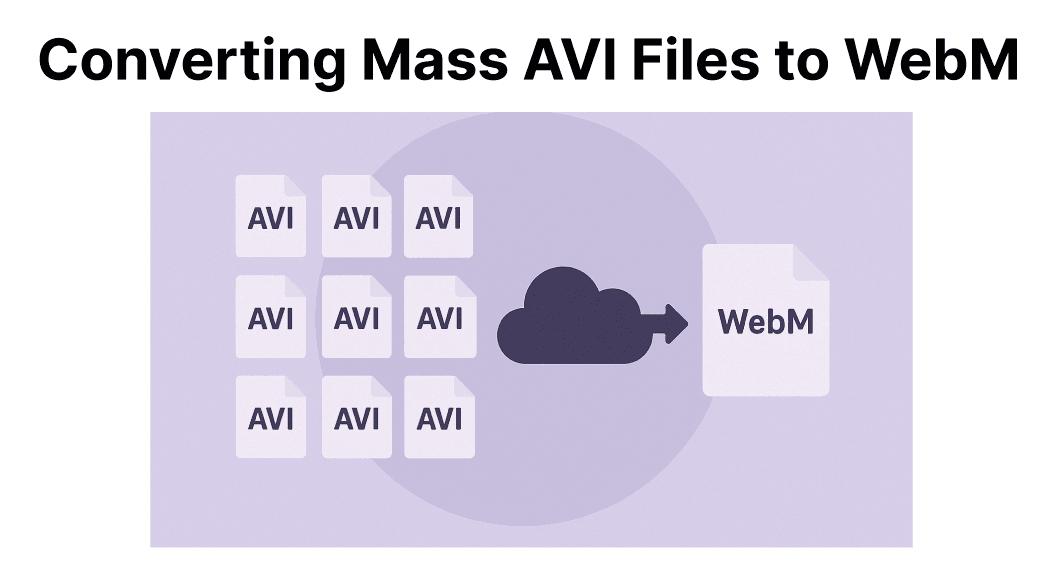
Working with a large collection of AVI files can quickly become a challenge, especially when aiming for smaller file sizes and better compatibility across browsers. AVI is an older format that often leads to large outputs and limited modern support. Converting these files to WebM helps reduce file size while maintaining quality and enabling smooth playback in web environments.
When processing thousands of files, manual conversion is not practical. Batch automation saves hours of work and ensures consistent settings across all videos.
Prerequisites
Before starting, ensure you have the following:
- Operating System: Windows (10 or later), macOS (10.12 or later), or Linux (e.g., Ubuntu 18.04+).
- Hardware Requirements: A multi-core CPU (at least 4 cores recommended for faster processing), at least 8 GB RAM, and sufficient storage space (WebM files are often 50-70% smaller than AVI originals due to efficient compression, depending on settings and original codecs).
- FFmpeg: Download from the official website (ffmpeg.org). Install via package managers (e.g., sudo apt install ffmpeg on Ubuntu, or Homebrew on macOS) or pre-built binaries for Windows.
- A Text Editor (e.g., Notepad++, VS Code) for scripting and a file manager or terminal emulator for navigating directories.
- Input Files: AVI files stored in a single directory (e.g., C:\Videos\Input on Windows or /home/user/videos/input on Linux). Ensure files are not corrupted and have necessary read permissions. Note that AVI files may use various codecs (e.g., DivX, Xvid); FFmpeg handles most, but very old or proprietary codecs might require re-encoding originals or alternative tools.
- Basic Knowledge: Familiarity with command-line operations. If new, practice with a small batch first. For handling very large files (e.g., over 4GB), ensure your system has enough RAM and consider splitting conversions if memory issues arise.
Installing FFmpeg
FFmpeg is the core tool for this conversion. Follow these steps based on your OS:
On Windows
Step 1: Download a static build (e.g., ffmpeg-*-win64-static.zip) from the official FFmpeg website.
Step 2: Extract it to a folder such as C:\ffmpeg.
Step 3: Add C:\ffmpeg\bin to the system PATH variable.
Step 4: Verify with ffmpeg -version in Command Prompt.
On macOS
Step 1: Install Homebrew if not already installed: /bin/bash -c "$(curl -fsSL https://raw.githubusercontent.com/Homebrew/install/HEAD/install.sh)".
Step 2: Run brew install ffmpeg and verify with ffmpeg -version.
On Linux (Ubuntu/Debian)
Step 1: Update repositories: sudo apt update.
Step 2: Install FFmpeg: sudo apt install ffmpeg.
Step 3: Verify with ffmpeg -version.
If issues arise, consult the FFmpeg documentation or community forums.

Preparing Your Files
Organize your AVI files to streamline the batch process:
Step 1: Create 2 Directories: One for input AVI files (e.g., input) and one for output WebM files (e.g., output).
Step 2: Move all AVI files into the input directory. Ensure filenames are unique and do not contain special characters that could cause command-line issues (e.g., spaces are fine, but avoid quotes or semicolons).
Step 3: Check file integrity by previewing several samples in a media player like VLC. For mixed codecs, test a sample from each type to ensure compatibility.
Step 4: Note that AVI files can contain different codecs, but FFmpeg handles most formats.
Creating a Batch Conversion Script
Use a script to automate the conversion loop. This example uses a Bash script (Linux/macOS) or a Batch file (Windows). Adjust paths and settings as needed. For better reliability, these scripts include basic error checking and logging.
Basic FFmpeg Command for Single File Conversion
For reference, the command to convert one AVI to WebM is:
ffmpeg -i input.avi -c:v libvpx-vp9 -c:a libopus -crf 30 -b:a 128k output.webm- -i: Input file.
- -c:v libvpx-vp9: Video codec (VP9 for better quality/compression than VP8; use VP8 for faster encoding if quality is less critical).
- -c:a libopus: Audio codec (Opus for efficient audio).
- -crf 30: Constant rate factor for VP9 (lower values like 20-25 yield higher quality but larger files; higher values like 35-40 prioritize compression and speed).
- -b:a 128k: Audio bitrate (adjust as needed for quality).
Using -crf instead of fixed bitrate (-b:v) ensures consistent quality across files, as bitrate can result in variable quality depending on content complexity.
On Linux/macOS: Bash Script
Open a text editor and create a file named convert.sh and add the following script (replace paths with your directories):
#!/bin/bash
INPUT_DIR="/path/to/input"
OUTPUT_DIR="/path/to/output"
LOG_FILE="$OUTPUT_DIR/conversion_log.txt"

for file in "$INPUT_DIR"/*.avi; do
if [[ -f "$file" ]]; then
filename=$(basename "$file" .avi)
output_file="$OUTPUT_DIR/$filename.webm"
echo "Converting: $file" >> "$LOG_FILE"
ffmpeg -i "$file" -c:v libvpx-vp9 -c:a libopus -crf 30 -b:a 128k "$output_file" 2>> "$LOG_FILE"
if [[ $? -eq 0 ]]; then
echo "Success: $output_file" >> "$LOG_FILE"
else
echo "Failed: $file" >> "$LOG_FILE"
fi
fi
done
Make it executable: chmod +x convert.sh and run with ./convert.sh.
On Windows: Batch File
Open Notepad, create convert.bat, and add the following (replace paths):
@echo off
set INPUT_DIR=C:\path\to\input
set OUTPUT_DIR=C:\path\to\output
set LOG_FILE=%OUTPUT_DIR%\conversion_log.txt

for %%f in ("%INPUT_DIR%\*.avi") do (
echo Converting: %%f >> "%LOG_FILE%"
ffmpeg -i "%%f" -c:v libvpx-vp9 -c:a libopus -crf 30 -b:a 128k "%OUTPUT_DIR%\%%~nf.webm" 2>> "%LOG_FILE%"
if %errorlevel% equ 0 (
echo Success: "%OUTPUT_DIR%\%%~nf.webm" >> "%LOG_FILE%"
) else (
echo Failed: %%f >> "%LOG_FILE%"
)
)
Save and double-click to run in Command Prompt.
Customizing Settings
For Faster Conversion (Lower Quality): Use VP8 (-c:v libvpx) instead of VP9, or increase -crf to 40.
For Higher Quality: Reduce -crf (e.g., 20) or increase audio bitrate (-b:a 192k) and add -threads 0 to use all CPU cores.
Parallel Processing: For faster batching on multi-core systems, use tools like GNU Parallel on Linux/macOS (install via sudo apt install parallel or brew install parallel, then modify the script to run parallel ffmpeg ... ::: *.avi). On Windows, you must run multiple Command Prompt instances manually.
Test on One File: Run the FFmpeg command manually first, and review the verbose output (add -v verbose for detailed logs).
Running the Conversion
Step 1: Open the terminal or Command Prompt in your system.
Step 2: Navigate to the script's directory (e.g., cd /path/to/script).
Step 3: Execute the script (e.g., ./convert.sh or convert.bat).
Step 4: Monitor Progress: FFmpeg will output logs for each file. The script redirects output to a log file (e.g., conversion_log.txt) for easy review. For large batches, use parallel processing to speed up (e.g., via GNU Parallel).
Step 5: Estimated Time: Depends on file sizes, settings, and hardware. A 1-minute AVI might take 30-60 seconds per file on a modern CPU with VP9; VP8 is faster. For 1000+ files, parallel processing can reduce total time significantly.
Verifying and Troubleshooting the Output
Check Output Files: Play a few WebM files in a browser or player like VLC to ensure video/audio quality.
File Sizes: WebM often compresses better than AVI; compare sizes if needed.
Common Issues:
Codec Errors: Some AVI files may use unsupported codecs; FFmpeg will report errors. Consider re-encoding originals or using alternative tools. For mixed codecs, isolate and test problematic files.
Out of Memory: Reduce threads (-threads 2) or process in smaller batches. For very large files, add -preset slow to VP9 for better memory management.
Slow Performance: Ensure FFmpeg is optimized; update to the latest version. Use VP8 or parallel processing for speed.
Incomplete Conversions: Check logs for failures; rerun the script on failed files. Verbose output (-v verbose) helps diagnose issues.
This method ensures efficient, scalable conversion. For advanced needs (e.g., GPU acceleration with -hwaccel cuda for NVIDIA GPUs), explore FFmpeg's hardware encoding options. Always back up originals before processing.