Time-lapse videos capture a sequence of events at a much slower rate and condense them into a video that plays at normal speed. With FFmpeg, you can create timelapse videos by speeding up your footage, adjusting frame rates, and controlling the duration to produce the desired effect.
Prerequisites
Before creating a time-lapse video, ensure you have:
- FFmpeg Installed: Ensure that you have FFmpeg installed and the ffmpeg command is available in your terminal or command prompt. Verify with:
ffmpeg -version
- Input Video or Image Sequence: You need either a video file or a sequence of images for your timelapse video. If using images, they should be named sequentially (e.g., image001.jpg, image002.jpg, etc.).
Speeding Up a Video
To create a basic timelapse from a video, you need to speed up the playback. The -filter:v option in FFmpeg can adjust the playback speed by changing the video’s frame rate.
For instance, to double the playback speed, you can use the following command:
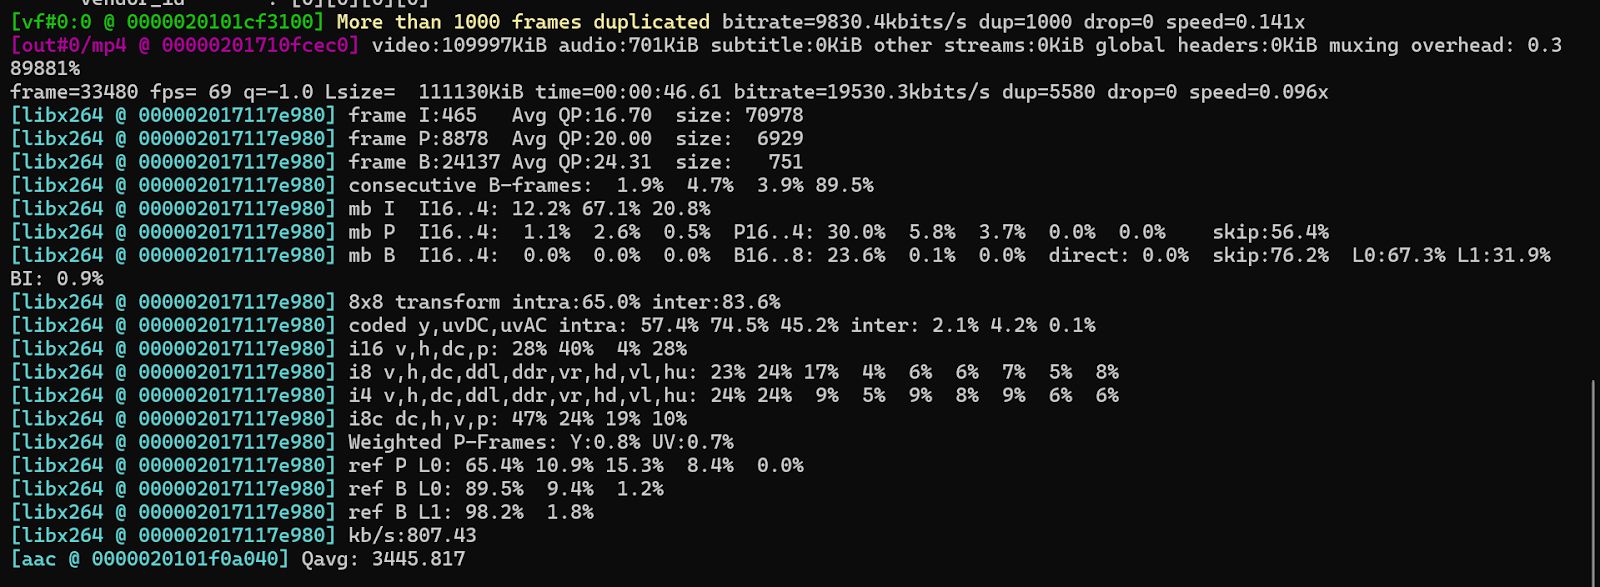
ffmpeg -i input.mp4 -filter:v "setpts=0.5*PTS" output_timelapse.mp4- -i input.mp4: Specifies the input video file.
- -filter:v "setpts=0.5*PTS": The setpts filter controls the presentation timestamp of each frame. By multiplying PTS (presentation timestamp) by 0.5, you effectively double the playback speed (lowering the duration).
- output_timelapse.mp4: Specifies the output file.

Using a Custom Speed (Frame Rate)
If you want to increase the video speed by a custom factor, say by 10x, you can use this command:
ffmpeg -i input.mp4 -filter:v "setpts=0.1*PTS" output_10x_timelapse.mp4- 0.1*PTS: This command speeds up the video by a factor of 10.
Adjusting Frame Rate
The frame rate of your timelapse video can be adjusted by specifying the output frame rate with the -r option. For example, if you want the time-lapse video to play at 30 frames per second (fps), use the following command:
ffmpeg -i input.mp4 -filter:v "setpts=0.1*PTS" -r 30 output_30fps_timelapse.mp4- -r 30: This option specifies the output frame rate. You can adjust the value based on the final speed and smoothness you need.
Combining Time Lapse with Audio
If you want to add audio to your timelapse video, FFmpeg allows you to specify an audio track and sync it with the video. The following command adds an audio track (audio.mp3) to the timelapse video:
ffmpeg -i input.mp4 -i audio.mp3 -filter:v "setpts=0.1*PTS" -c:v libx264 -c:a aac -strict experimental timelapse_with_audio.mp4- -i audio.mp3: Specifies the audio file to include in the output.
- -c:a aac: Specifies the AAC audio codec for the output.
- -strict experimental: Allows FFmpeg to use certain experimental features, which might be needed for audio/video synchronization.
Advanced Timelapse Adjustments
1. Adding Effects During Timelapse Creation
FFmpeg can also apply additional effects while creating timelapse videos, such as brightness or contrast adjustments. For example, to apply a brightness filter while speeding up the video:
ffmpeg -i input.mp4 -filter:v "setpts=0.1*PTS, eq=brightness=0.05" -r 30 timelapse_brightness_adjusted.mp4- eq=brightness=0.05: This filter adjusts the brightness by 0.05.

2. Applying a Zoom Effect
If you wish to zoom in on the video during the timelapse, use the zoompan filter in FFmpeg:
ffmpeg -i input.mp4 -filter:v "setpts=0.1*PTS, zoompan=z='zoom+0.001':d=25" -c:v libx264 -r 30 timelapse_zoom.mp4- zoompan=z='zoom+0.001': Gradually zooms in at a rate of 0.001 per frame.
- d=25: Specifies the duration of the zoom effect.